Personalized Pet Ornaments
Introduction
I am not someone that gets super excited for the holiday season. In fact, Christmas decor kind of stresses me out. I would much prefer not to decorate than have 10 boxes stored in my attic. Also, who gets things out just to put them away in a few weeks? Alas, my partner loves Christmas decorations, so there is some compromise involved.
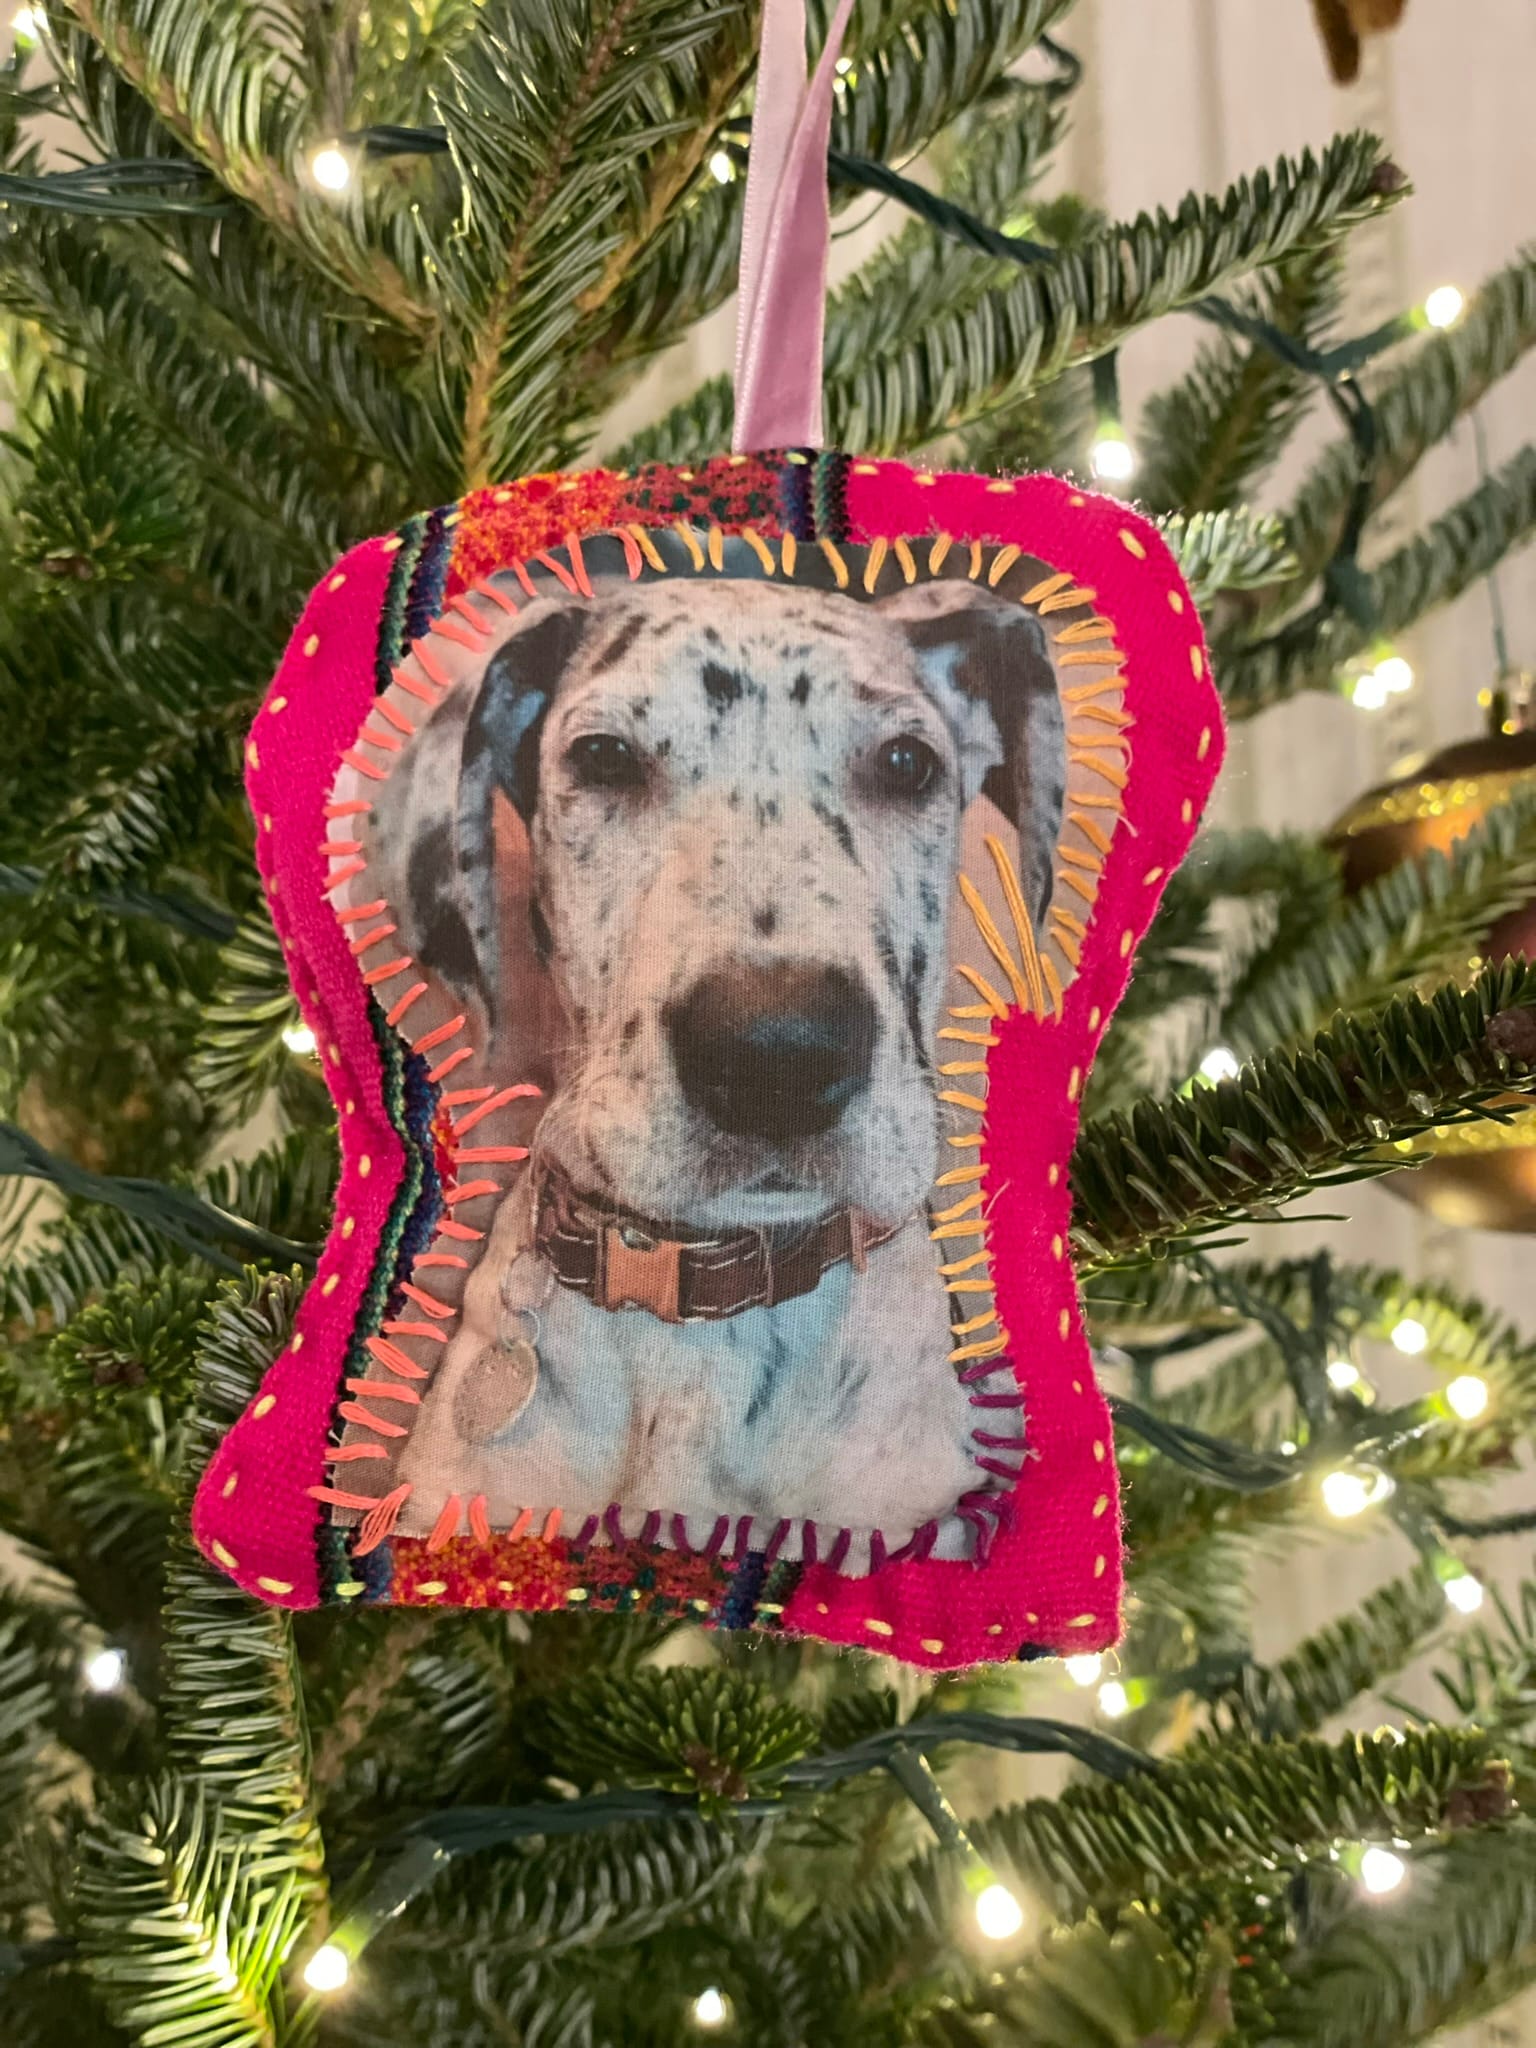
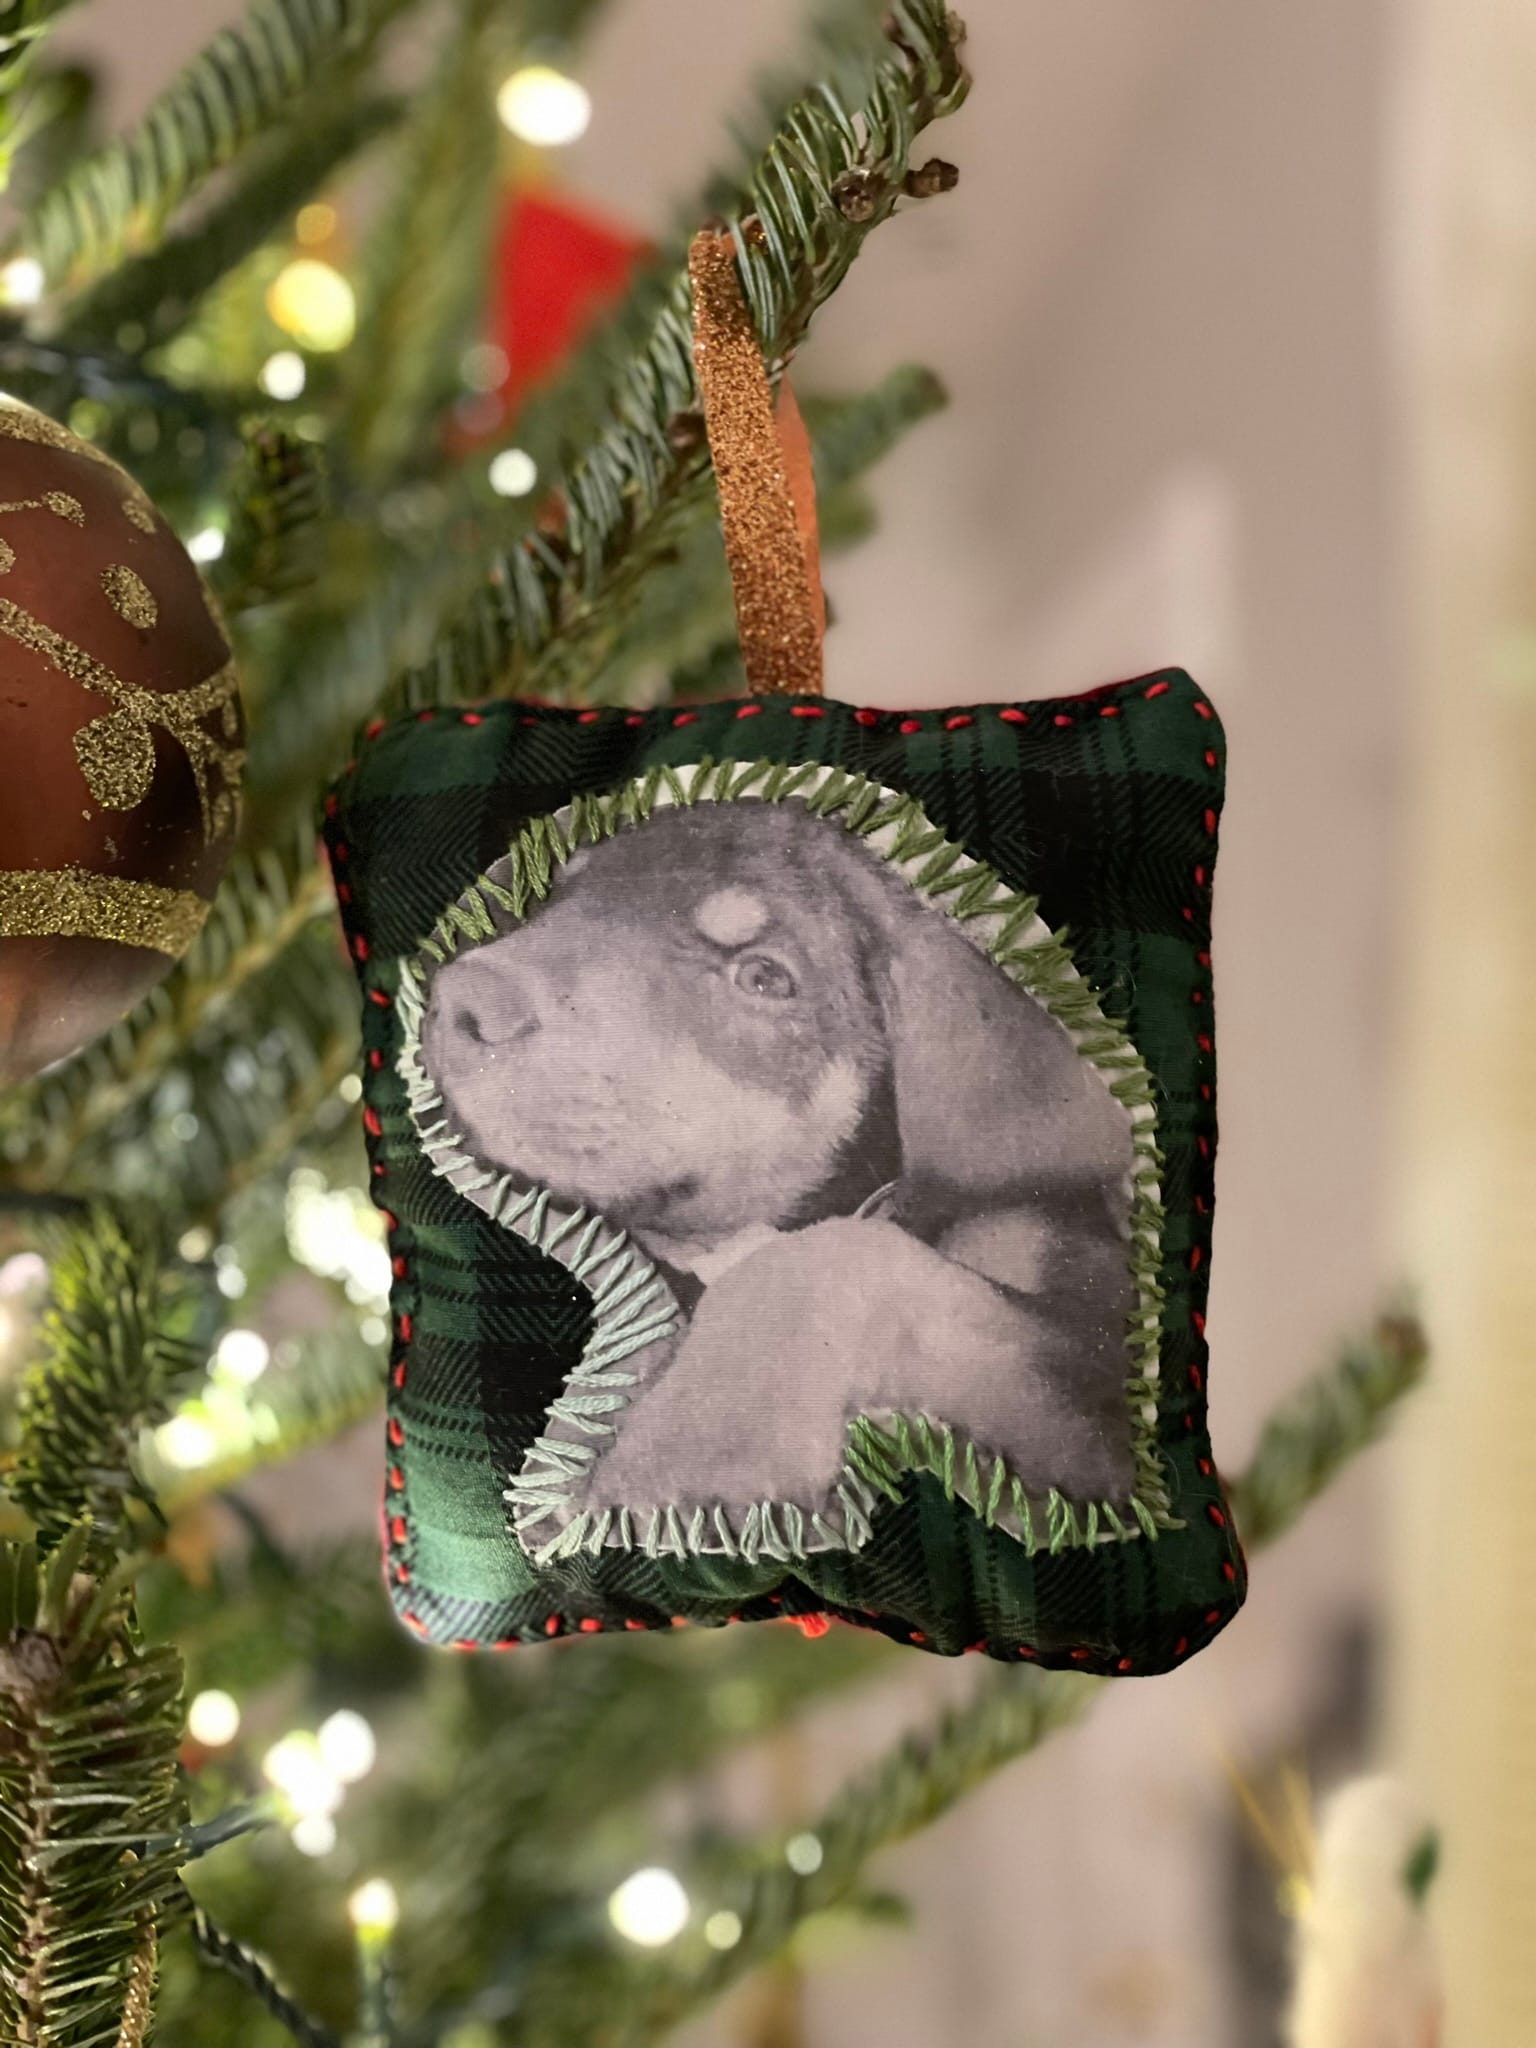
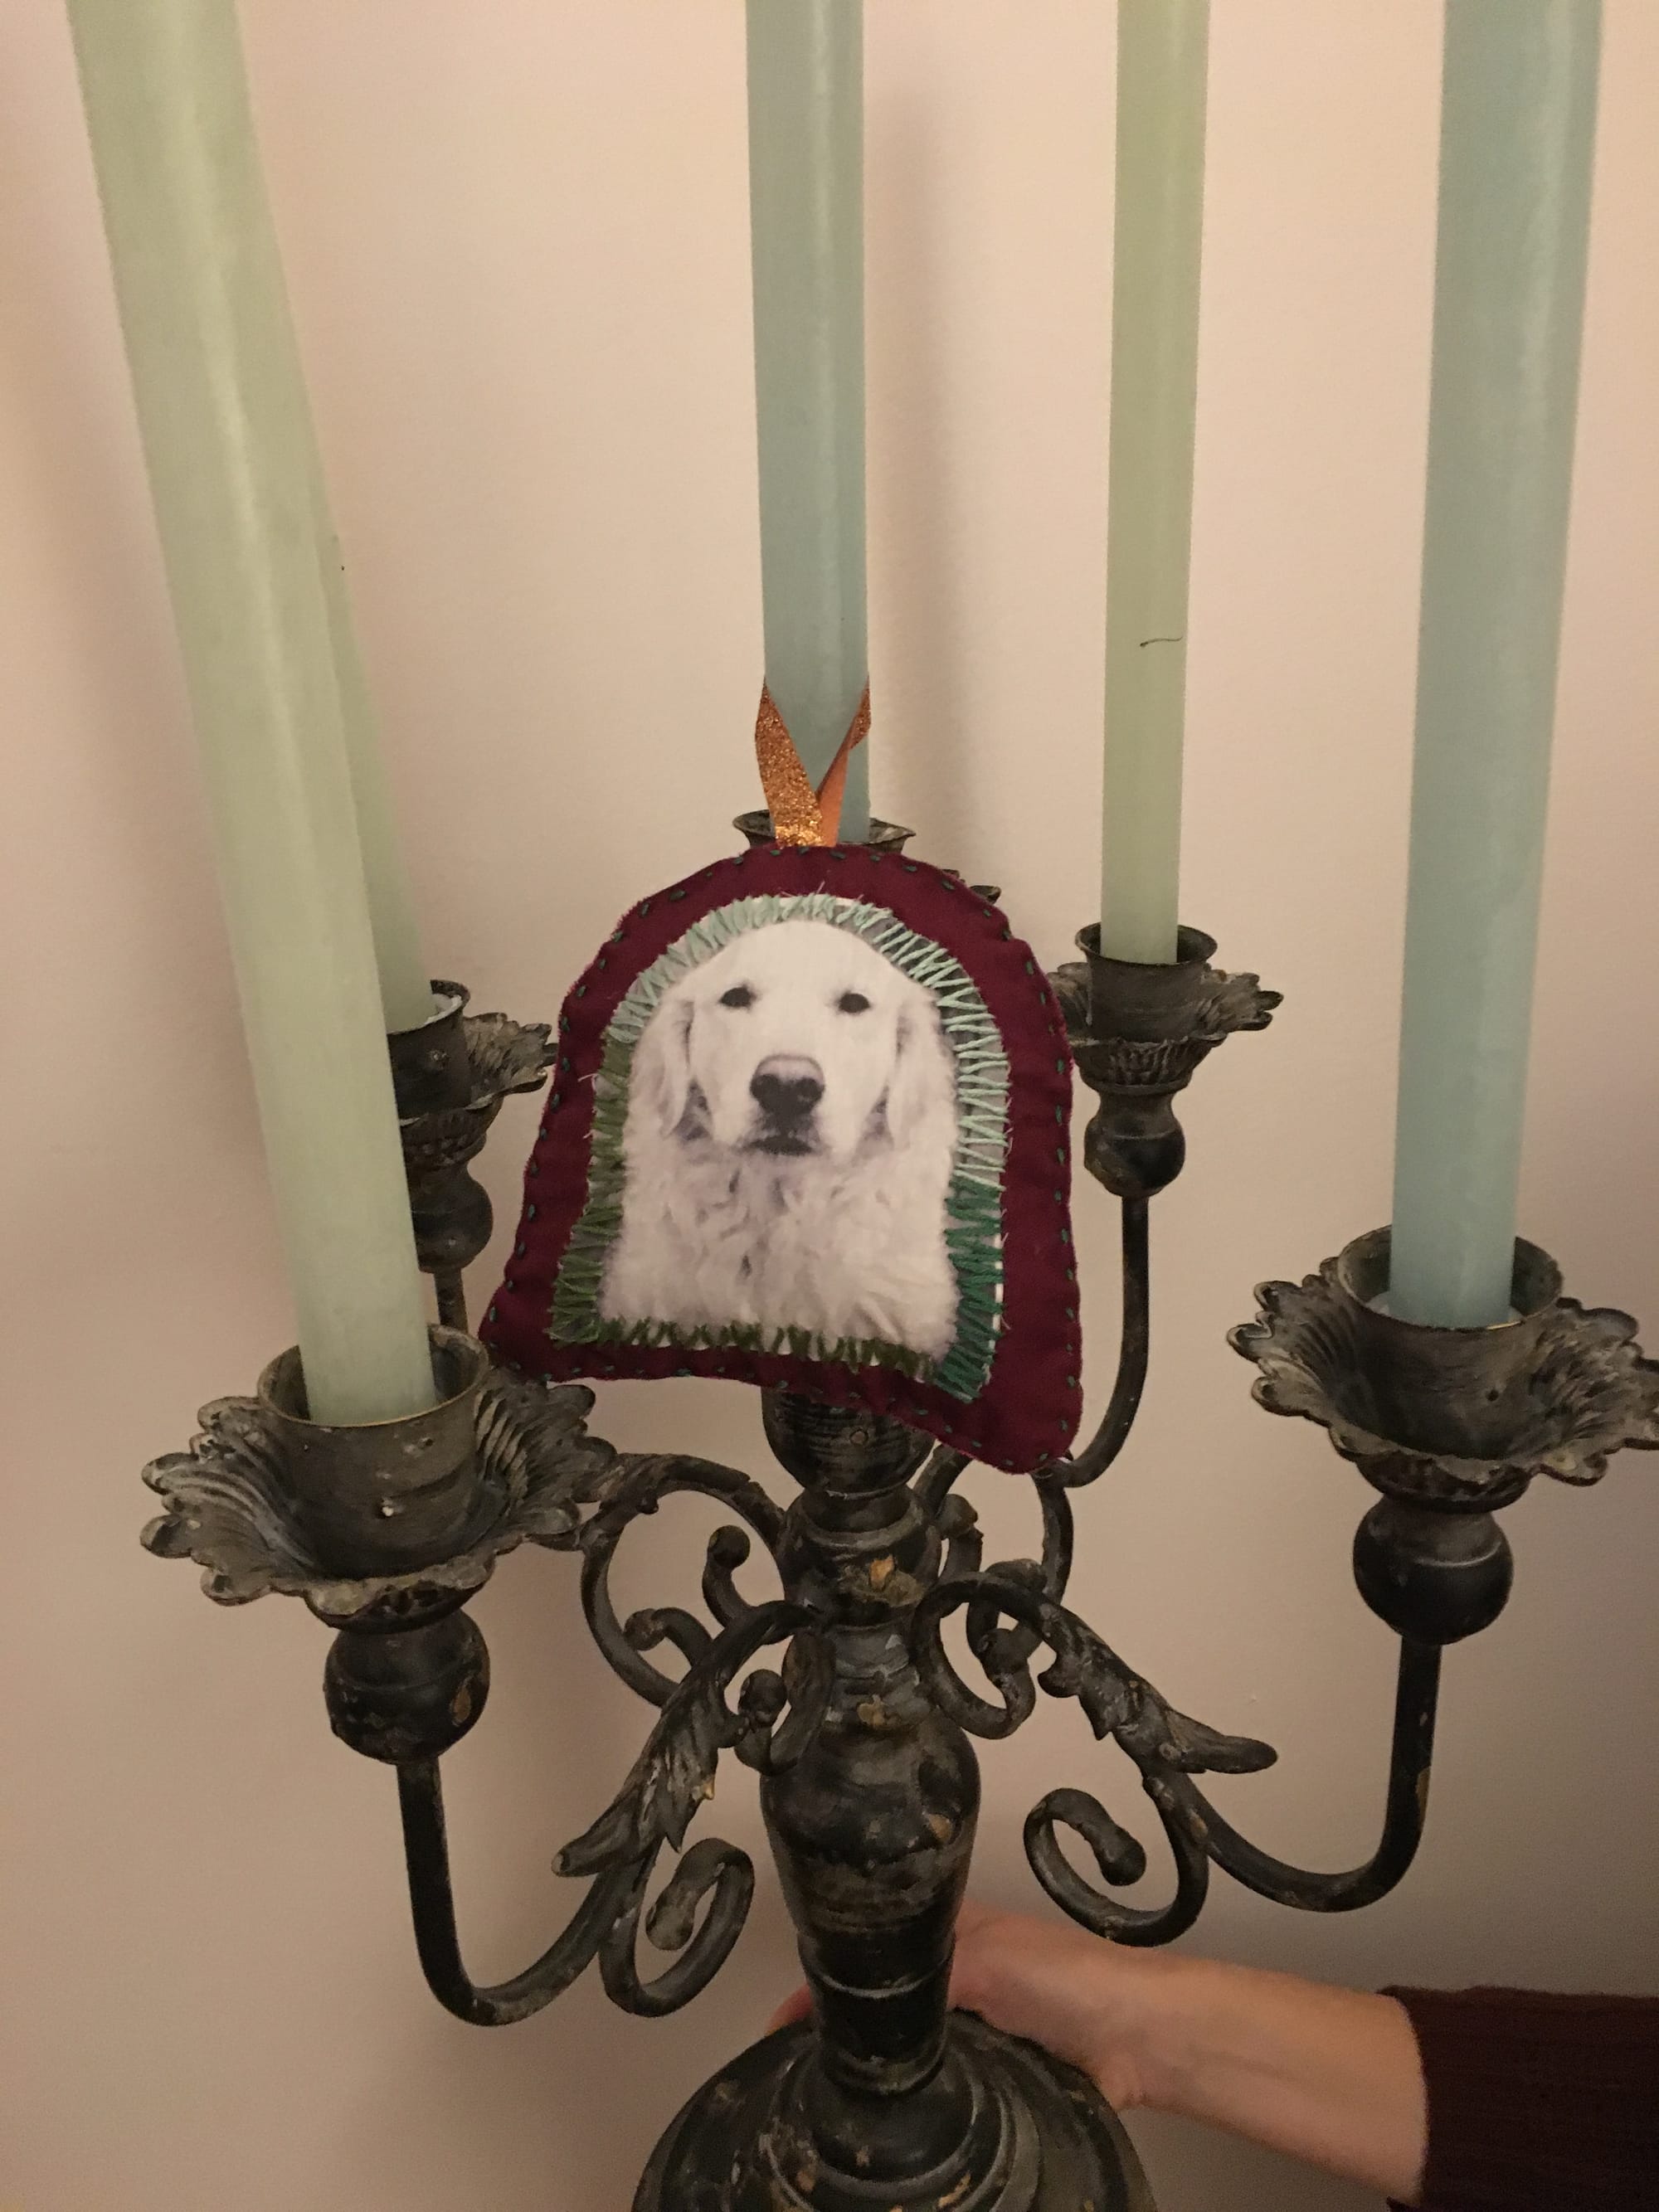
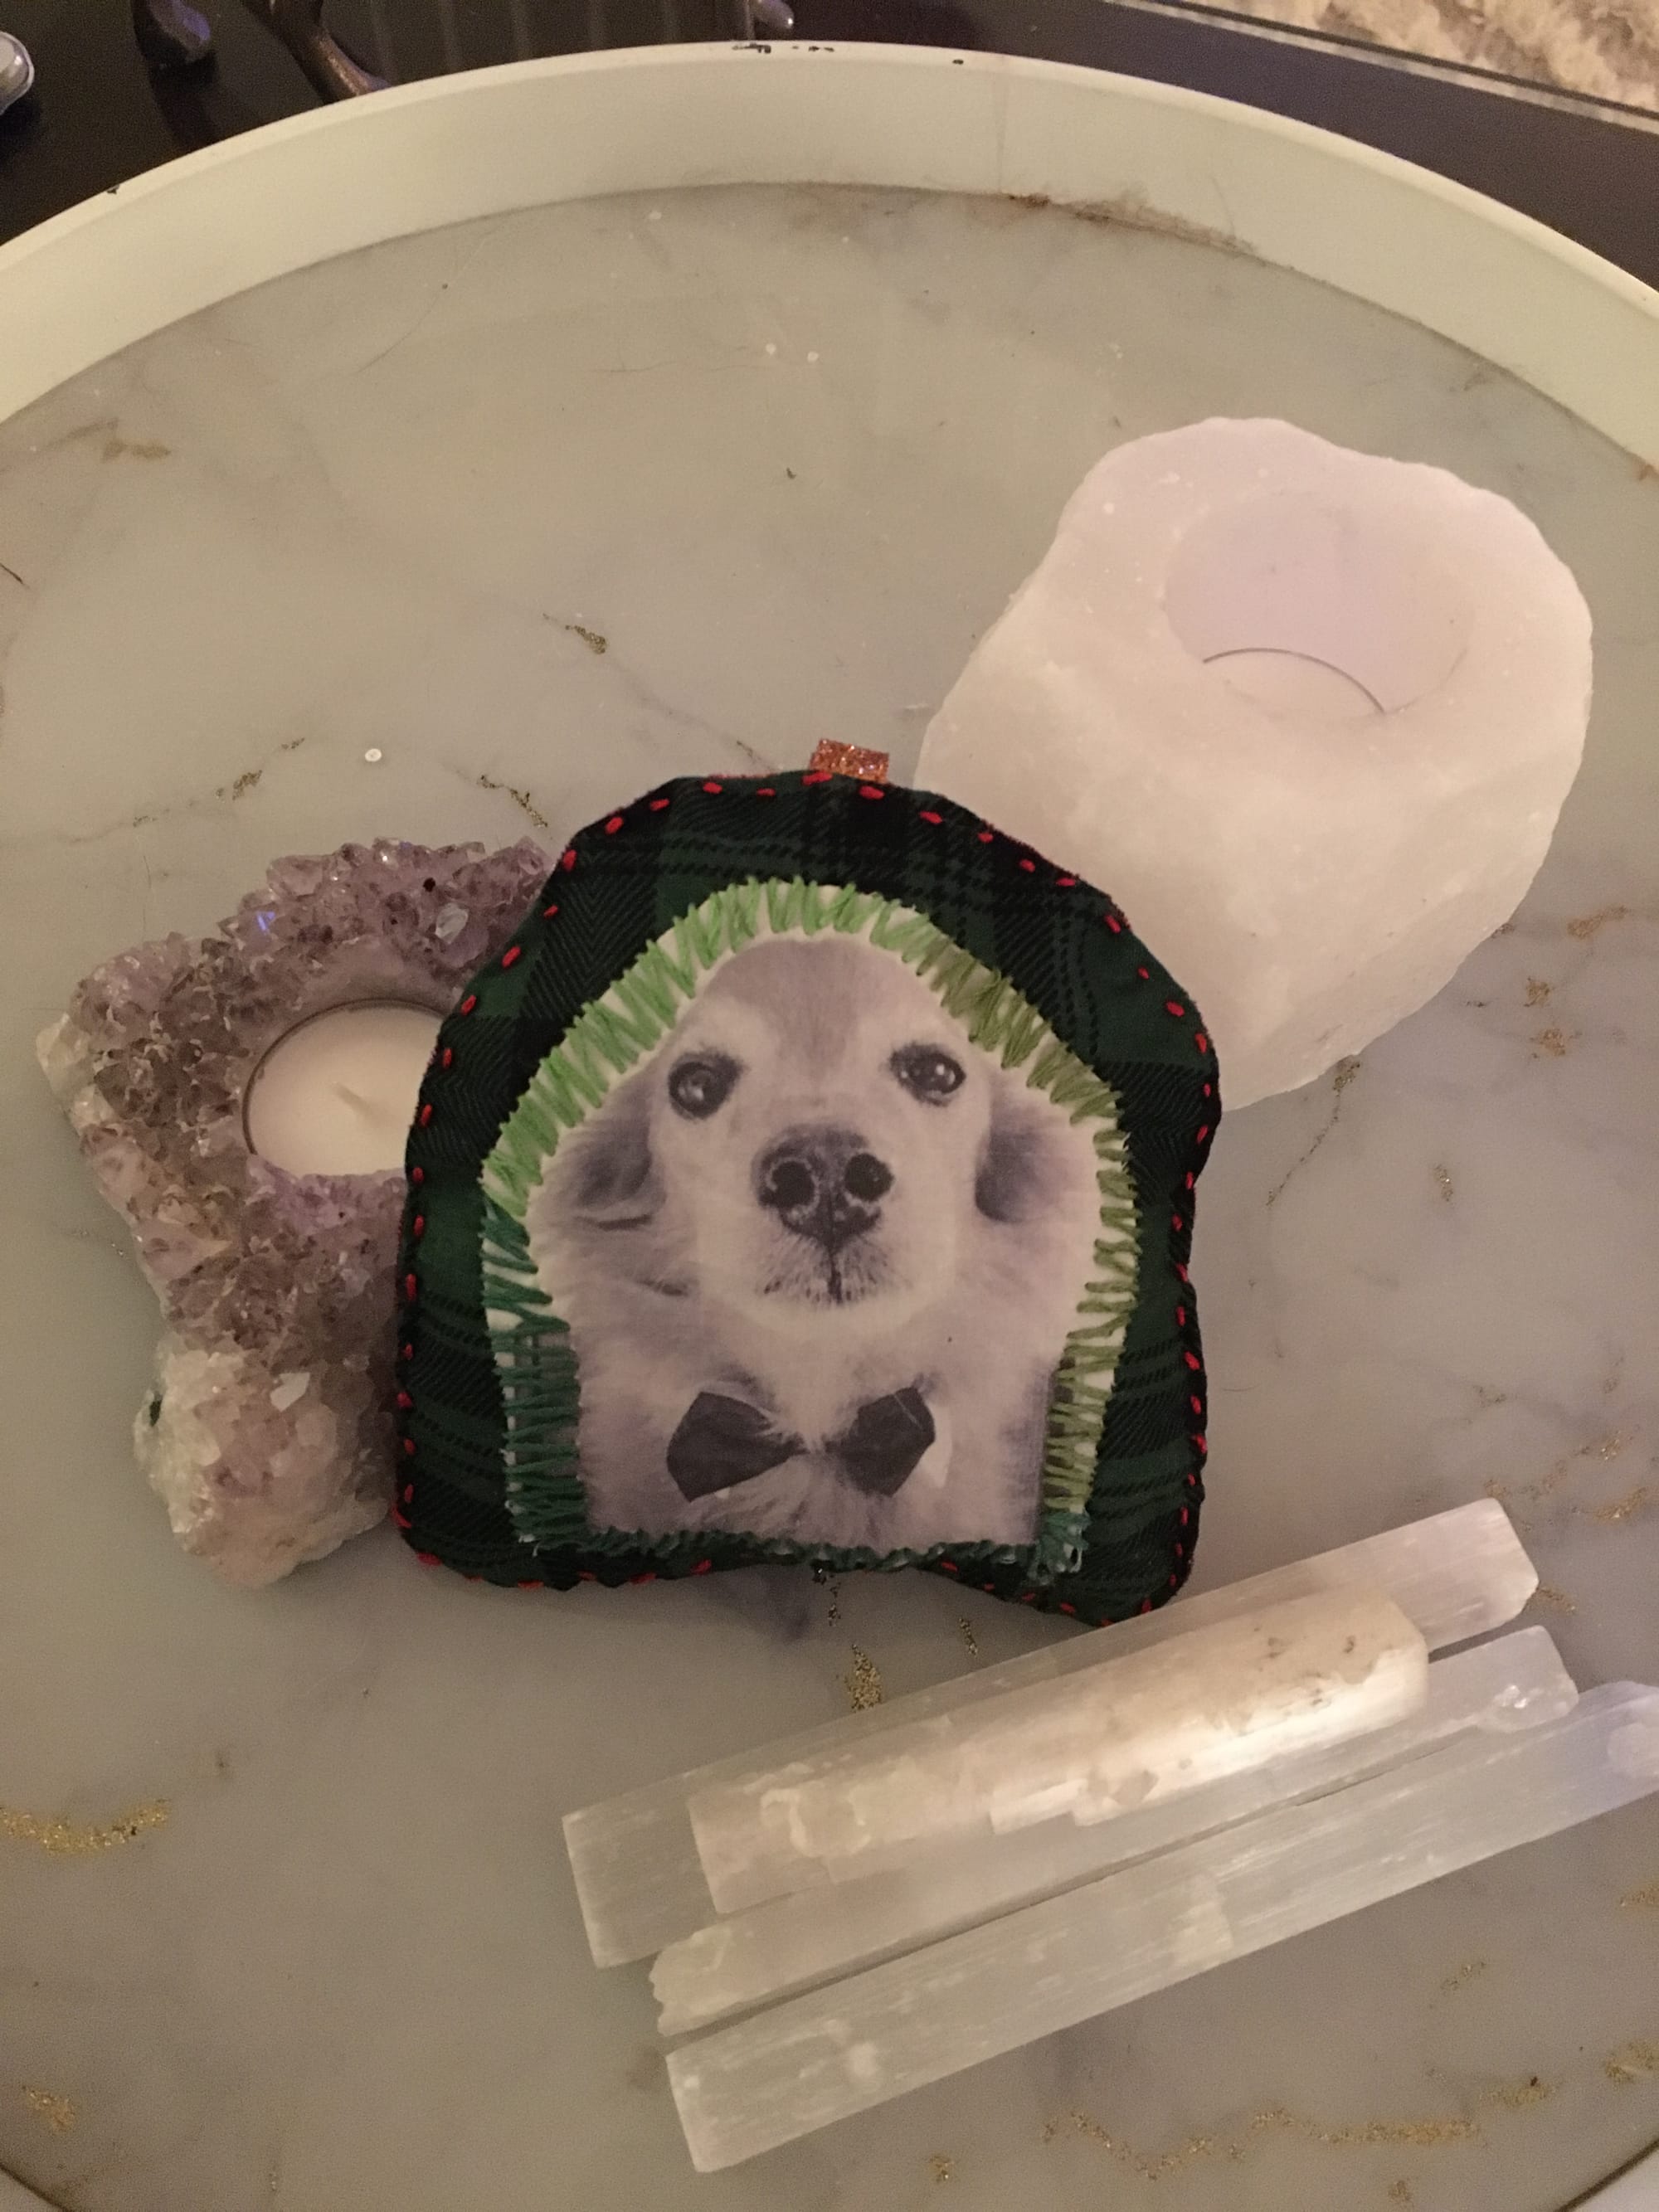
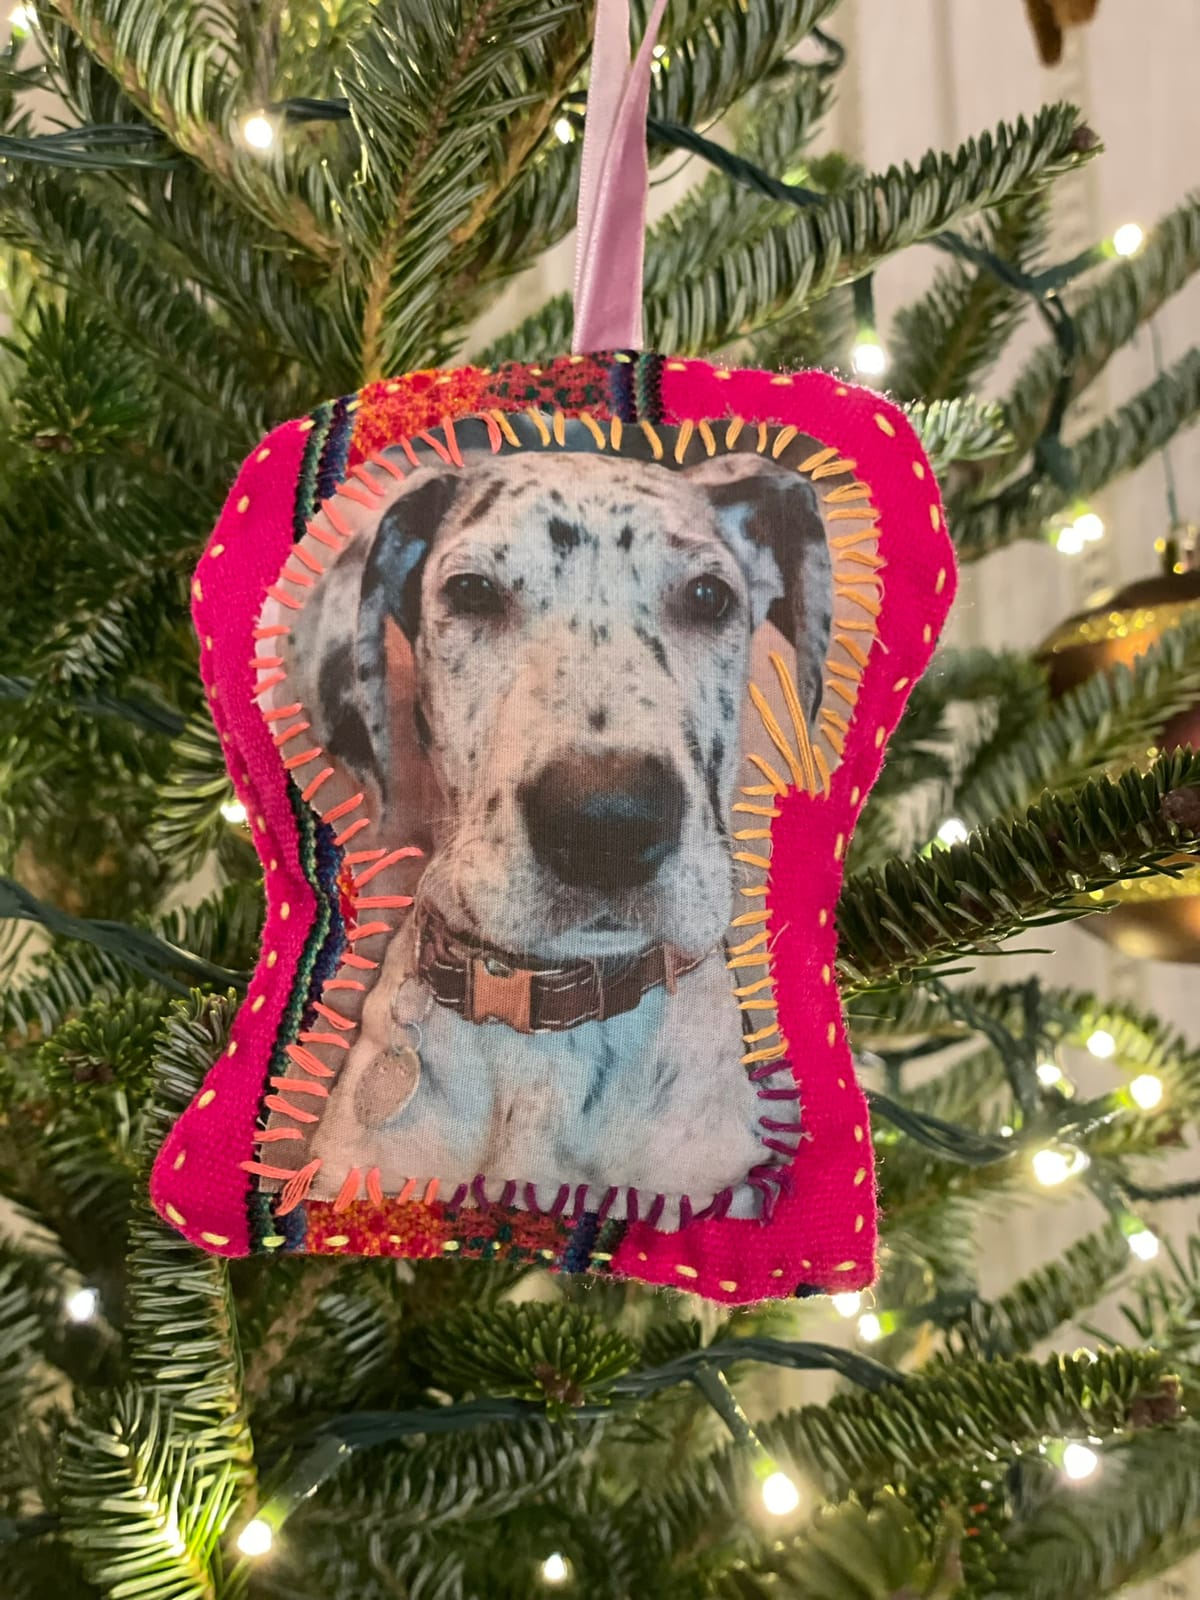
Despite my "grinch-like" attitude as my partner likes to call it, one of the only few pieces of decor that I look forward to are custom ornaments that I made from photos of my dogs. We have three of them: one each for Stevie and Pedro, and one for my first dog that I had when I became an adult, Norah. I've also made ornaments for all the dogs in other households in my immediate family, and I even sold them on Etsy a few years back.
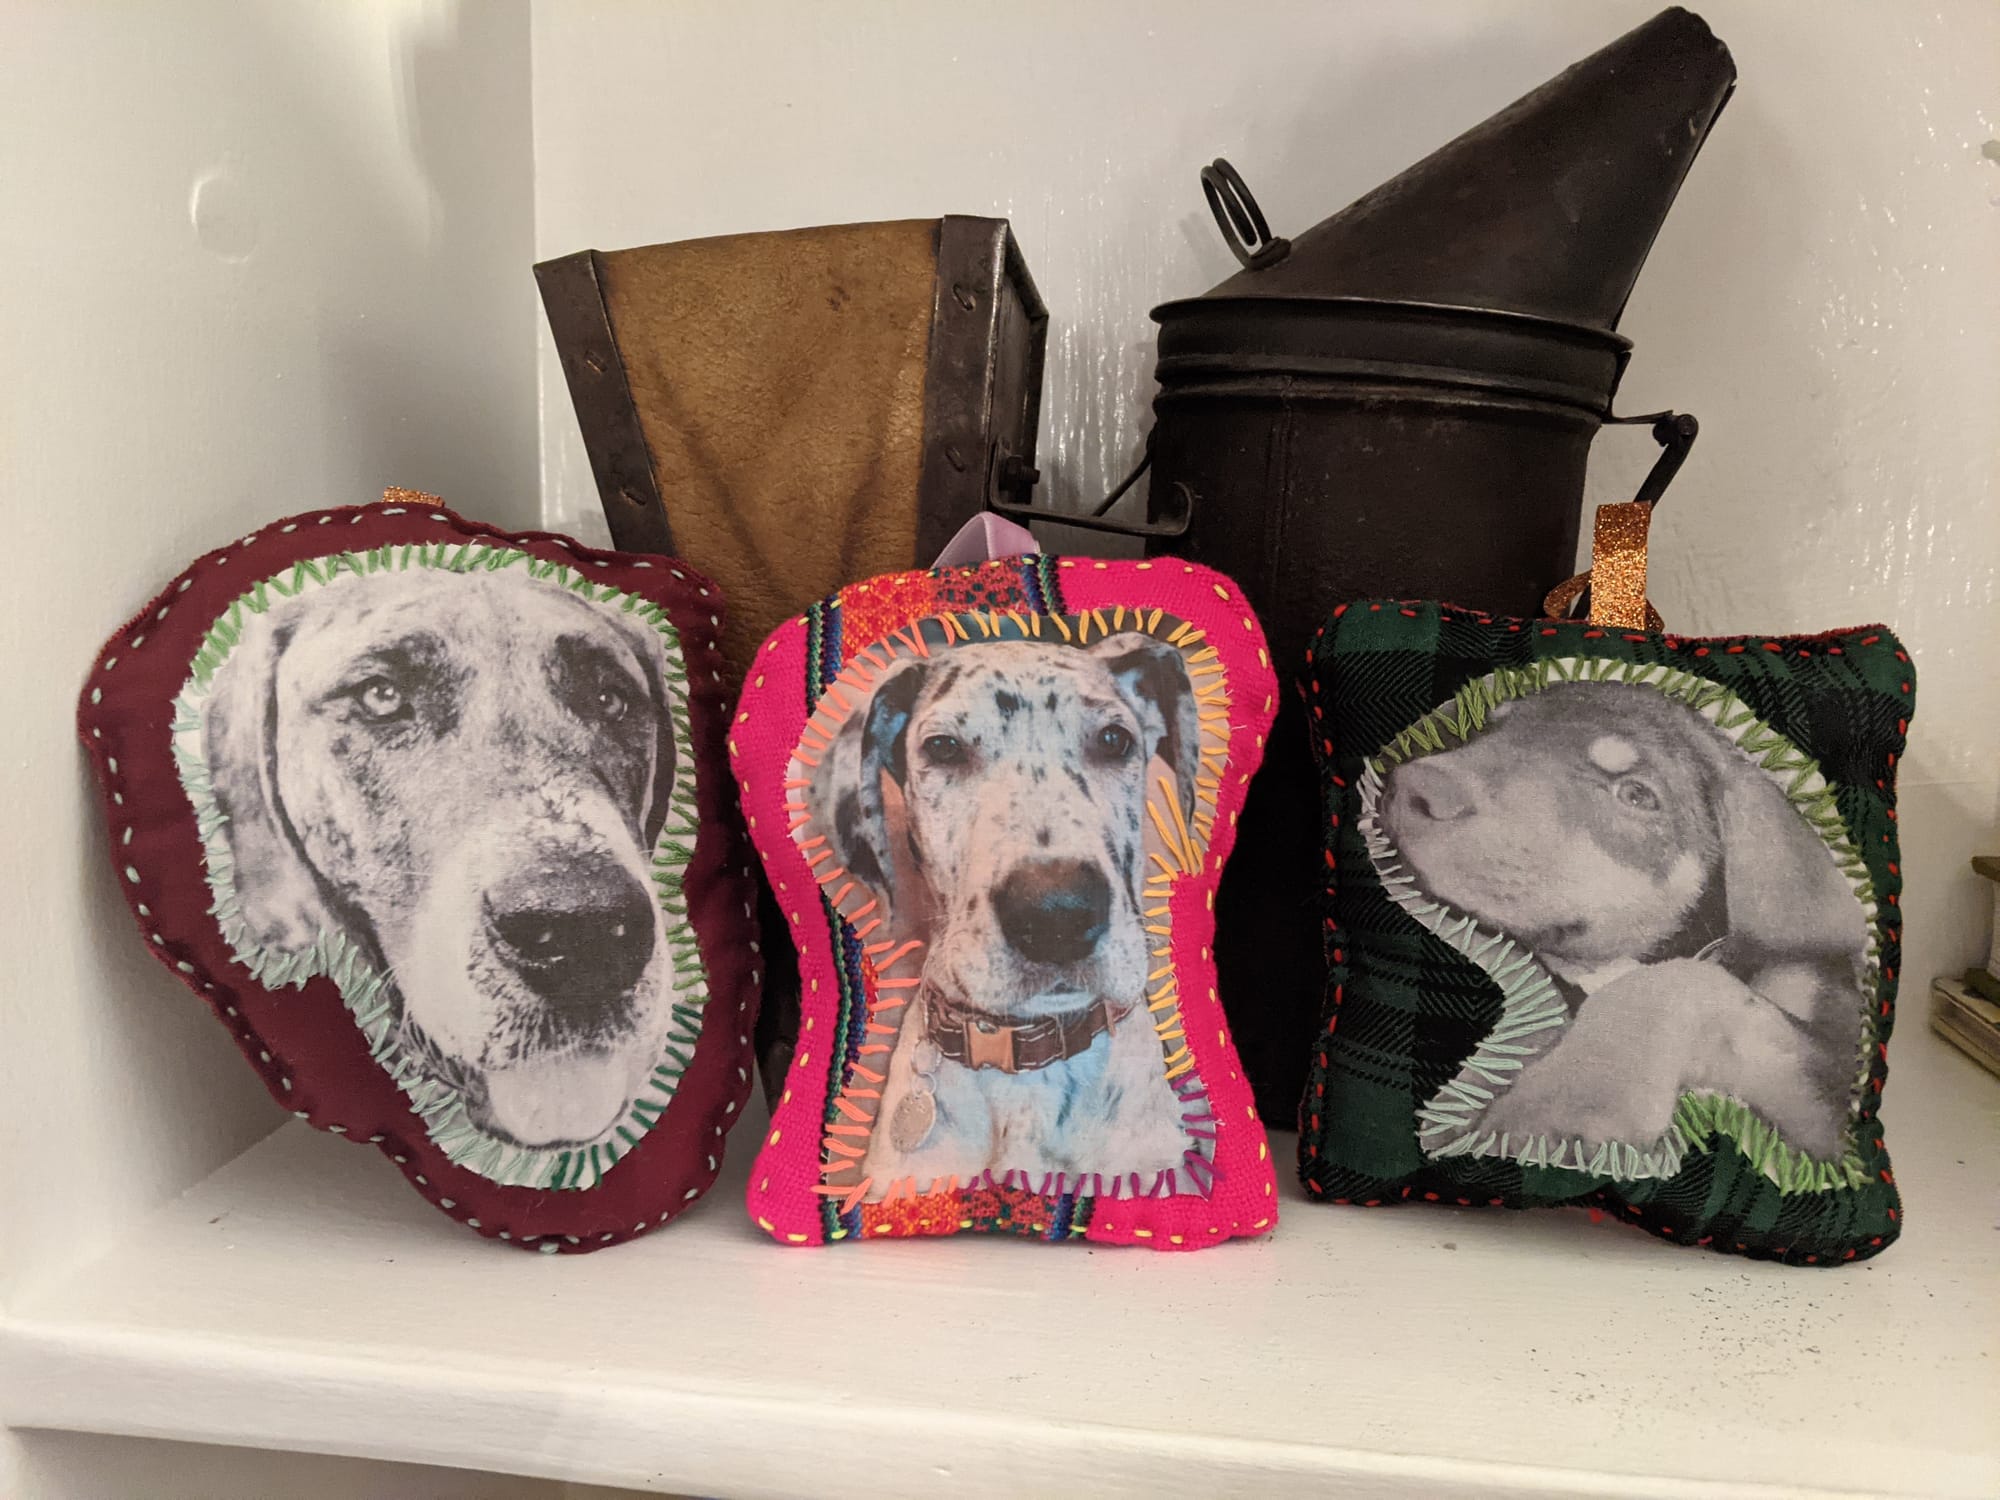
Norah, Stevie, and Pedro's ornaments respectively
These custom pet ornaments are a perfect DIY gift to make for your dog-loving family members and friends. They are a much more thoughtful and personal gift than purchasing something from a chain store. The great thing is that they are pretty easy to make, just about as easy as that first pillow you made in home economics class in middle school (Can anyone relate?). As a bonus, these ornaments may evoke a few happy tears as mine have done in the past.
Materials
- 👕Scrap Fabric (winter/holiday themed if you are so inclined)
- 🎀Scrap Ribbon
- 🪡Sewing Machine
- 🧵Embroidery Thread and Needle
- 📄Inkjet Fabric Sheets (make sure these are NOT the iron on sheets)
- 🖨️Printer
- ☁️ Stuffing
- ✂️Fabric Scissors
Disclosure: Links contain affiliates. When you buy through one of my links I will receive a commission. This is at no cost to you. Thank you for supporting DogsnDiy and allowing me to continue to bring you valuable content.
Instructions
- Choose your favorite pet photo. This is going to be the hardest part. You're going to need to scroll through the thousands of pictures of your dog on your phone and choose only one. You'll see the adorable puppy photo of Stevie I chose below. THAT FACE! Once you have the photo, upload it to your favorite photo editor to remove the background. I chose Canva because I use it for so many things. You can even Google a free background remover and find one that works. Removing the background helps eliminate any ugly distractions from main show of the ornament, your pet.
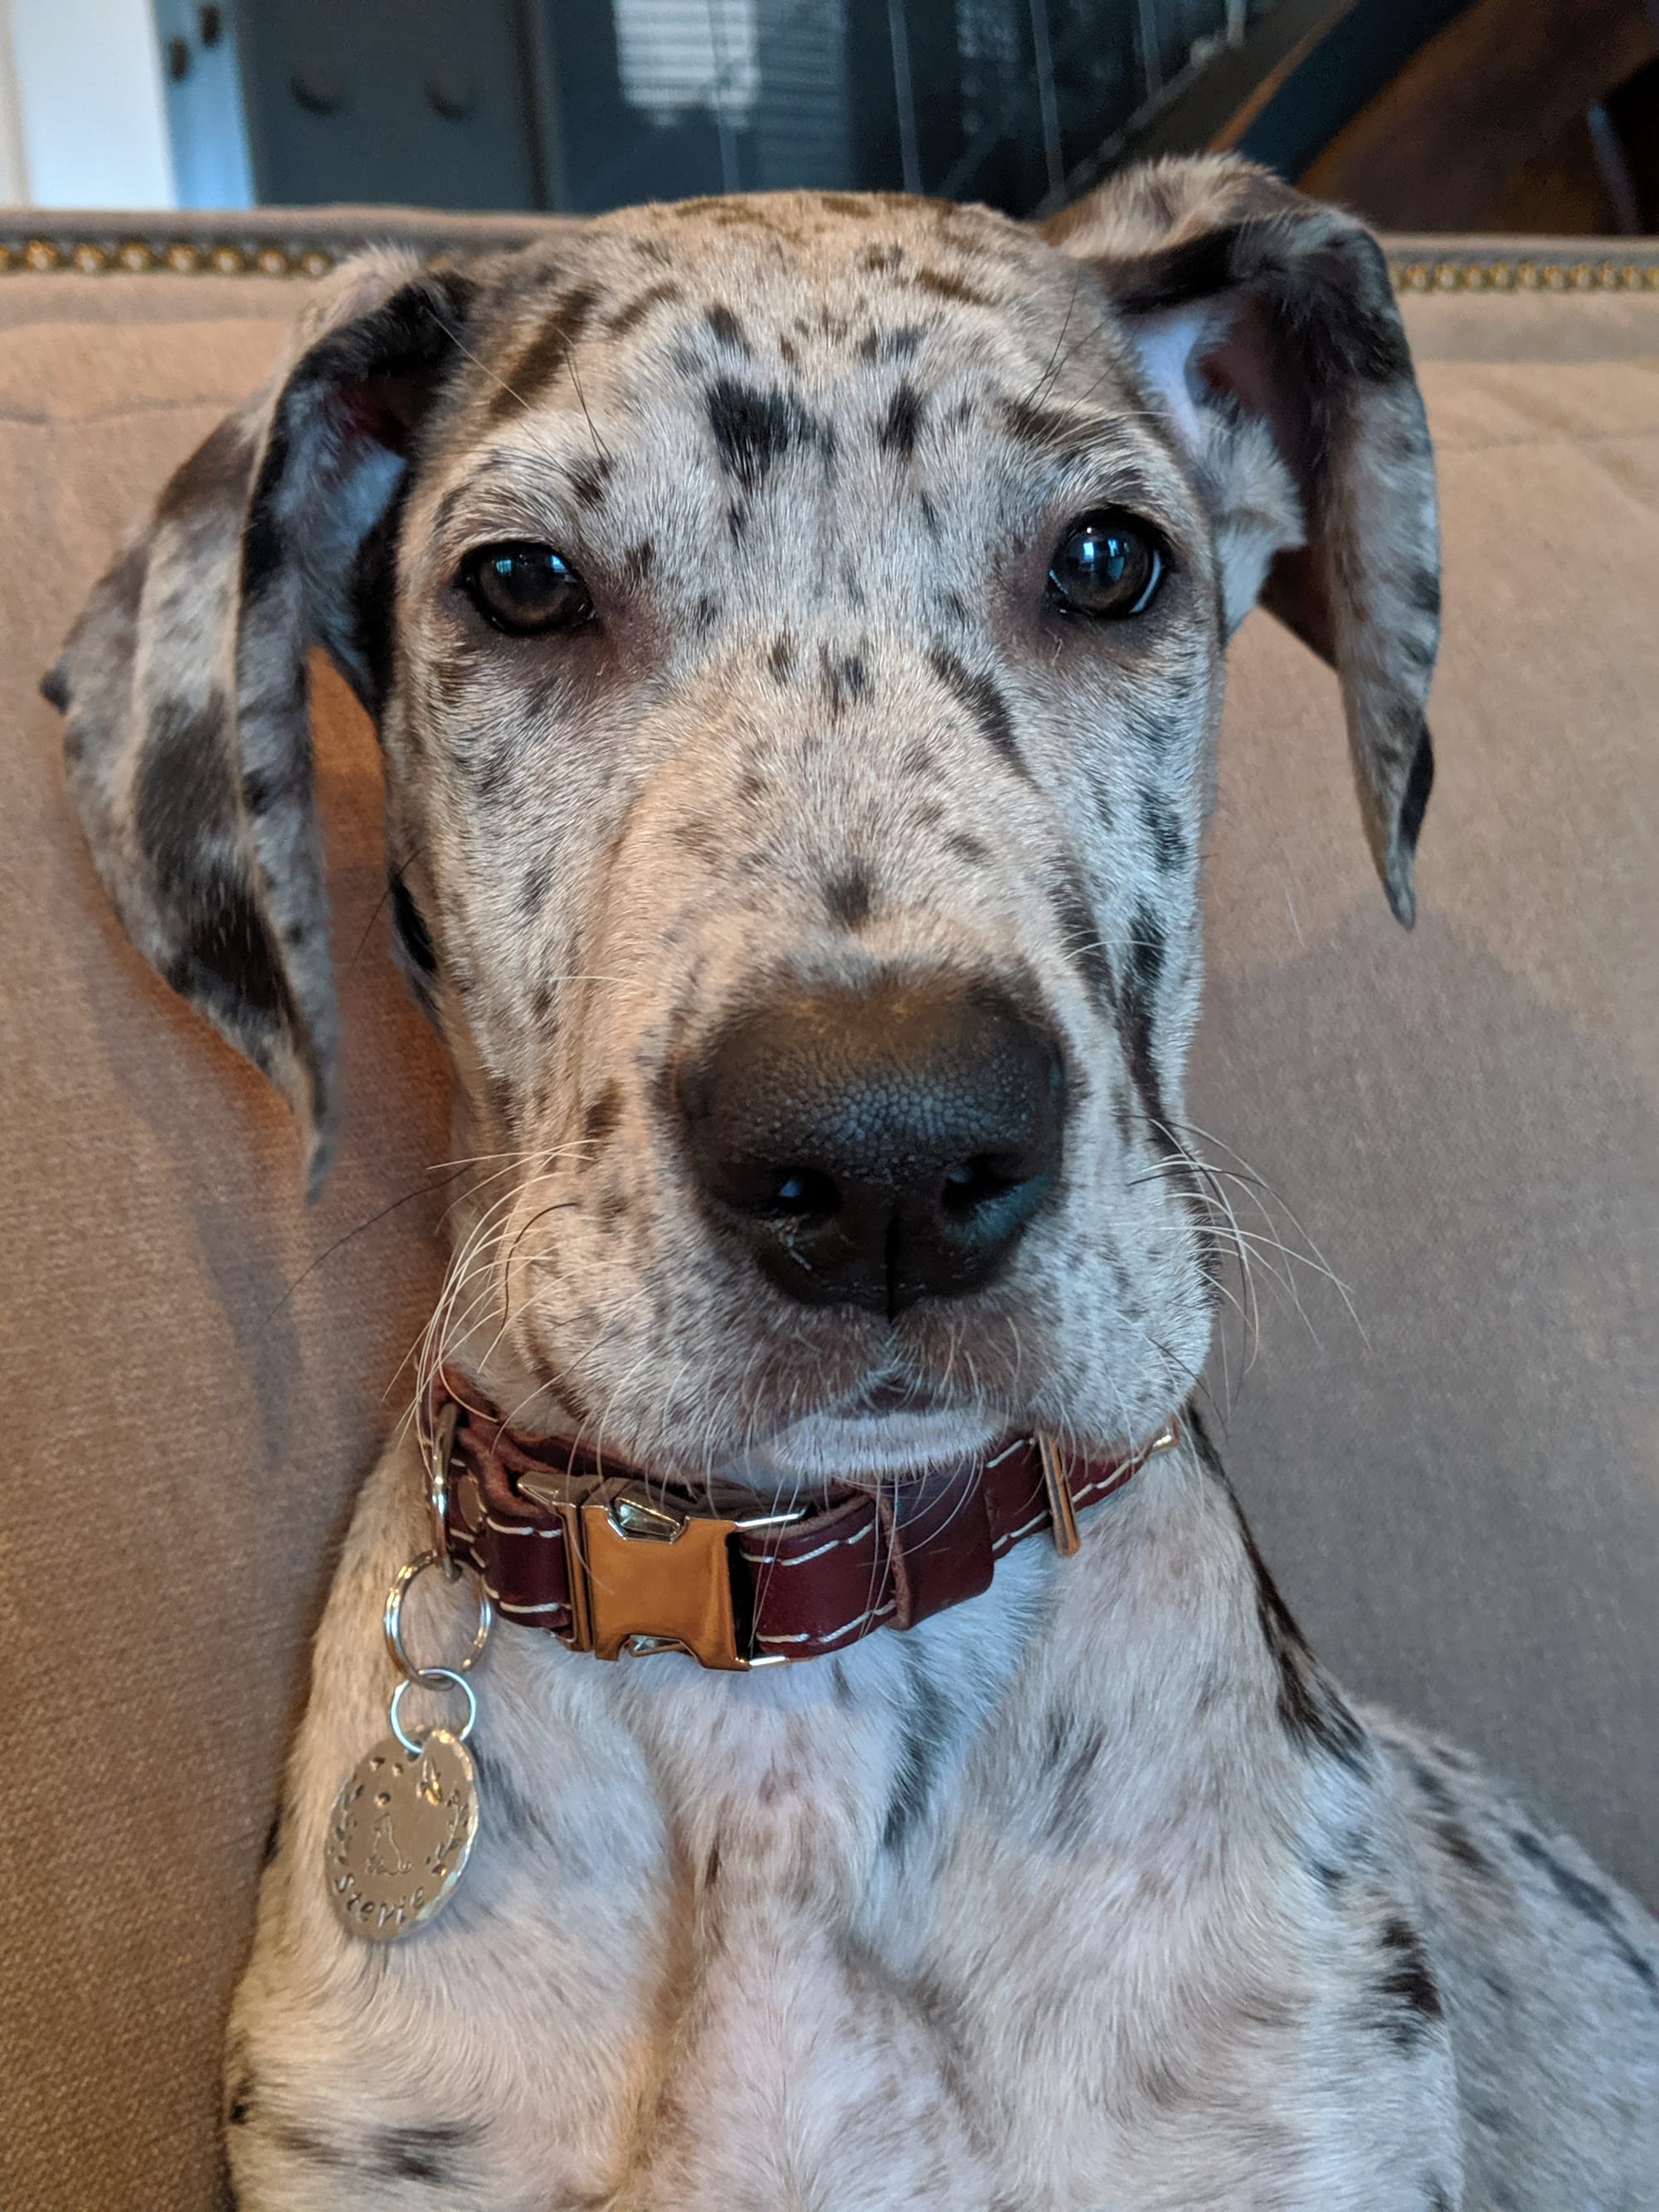

Original picture (left) and picture with background removed (right)

- Print out your pet photo. Download the photo with the background removed, and choose your favorite word processor to work in next. Upload the photo to a new document, and resize the photo to your liking. As a rule of thumb, I like to size my photos to about 2.5-3 inches so that the ornament is not too large. Another plus is that you can fit multiple photos on the same page meaning more pet ornaments! Once you are happy with the size, print out your photo on an inkjet fabric sheet. These sheets are basically standard paper-sized cotton fabric sheets with a parchment-like paper backing that you take off after printing. Be sure you are feeding these sheets into the printer the correct way because there is a right side and a wrong side to print on. The good thing is that if you print on the wrong side (I've definitely done this), it will not mess up the sheet.
- Cut out your pet photo. Remove the backing from the cotton fabric sheet. There may be instructions on the packet to run the fabric under cold water after it is dry. I didn't do this and my ornaments have lasted 6 years so far and look like new. I think it is safe to say you can skip that step. Trim around your photo to create an outline while leaving a 1/4-1/2 inch border of white around all sides of your photo (even on the bottom). This white space that is created is where you will stitch the photo to the backing fabric.

- Cut out the backing fabric. Place your photo fabric cut out on a piece of ironed scrap fabric. Eyeball about a 1 inch border around your pet photo and cut out the fabric for the front. I typically like organic shapes, but if you are more type A, you can cut out a perfect rectangle, square, or circle. Next, take the front fabric you cut out and lay it down on another piece of fabric good sides together to cut out the back.


Front and back fabric cutouts. Notice they mirror each other.
- Sew the pet photo to the fabric. With the embroidery floss color/s of your choosing, sew the pet fabric to the front piece. You will see how the white border around the pet photo comes into play here now.

- Sew the front and back together. Place the front and the back fabrics on top of each other, good sides together. Pin the two pieces together, and sew them together leaving a small opening at the top of the ornament. Once you have sewn the pieces together, using the hole, turn the fabric right side out so that your pet photo is now showing on the outside.
- Stuff the ornament. Using the polyester filling, stuff the ornament using the hole at the top until it is a little bit firm. Be sure not to overstuff the ornament. Be sure to pull apart the filling prior to stuffing the ornament to ensure there are no large lumps.
- Sew in ribbon hanger. Cut a 5 inch piece of ribbon. Velvet is my favorite for this project. Fold the ribbon in half, good sides facing outward and stuff the tip into the open hole in the ornament. At this point, you should also fold in the raw edges of the opening of the ornament, and pin everything down. Once the ribbon and edges are pinned into place, sew across right along the edge to close up the ornament.
- Sew around the outside of the ornament. This is an optional step for aesthetic purposes. I like to sew around the outside of the ornament with embroidery floss to give it a more whimsical look. I opted for a very basic stitch, but a blanket stitch would also work here nicely.

- Hang up your ornament. Hang your ornament on the Christmas tree. Be sure to put it up high as your pet might believe that it is their new toy.
Conclusion
I highly encourage you to discover the charm crafting your own personalized pet ornaments – a truly distinctive and heartfelt gift that can be fashioned in just a few short hours. Elevate your holiday gifting with this perfect, one-of-a-kind present for your cherished ones. Explore the gallery below to gather inspiration for your own special creation!
