Disco Frog
Introduction
Jujst a little disco inspo to start - Nick from the "Discos and Dragons" episode in Freaks and Geeks... iykyk.
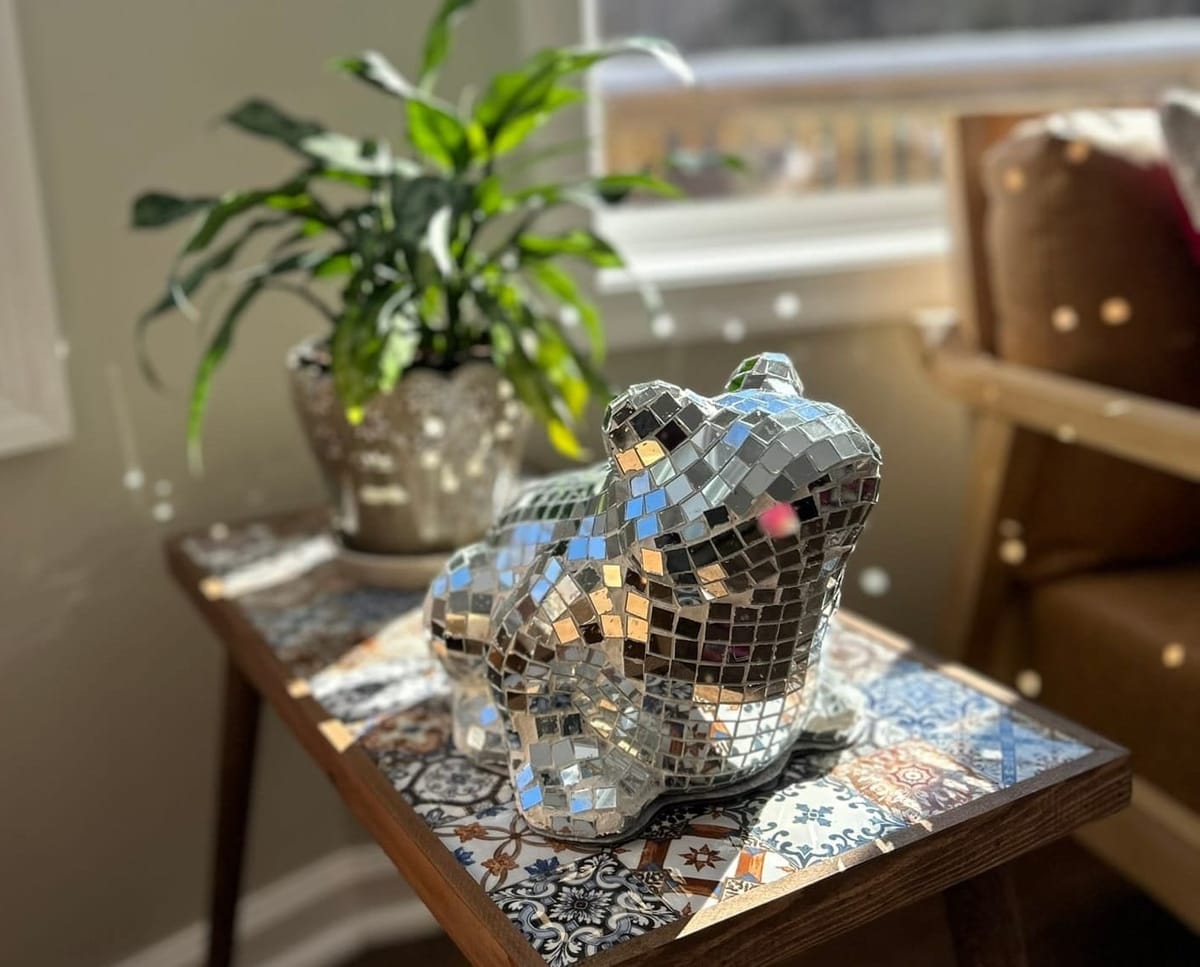
Welcome to the disco, space cadets! Please join me as I walk you through how to turn any ordinary object into a dreamy disco device! At our Airbnb in the Shenandoah Valley, the Wild Azalea House, we have these dreamy chalet windows that let in an abundance of natural light. If any room ever needed a disco ball, this would be the room. However, I like to be different, and a disco ball (and disco mushrooms now apparently) are too mainstream. Therefore, I chose a far out frog to disco-fy. Let me show you how it's done if you weren't someone who made a disco cowboy hat for Beyonce's Renaissance Tour that blew this little project out of the water - if this is the case, send me the link to your blog!
Materials

- 🐸Ceramic Frog (or object of your choice)
- 🦍Gorilla Super Glue
- 🪩Mirror Tiles
- 🏖️Sand Paper
- ⬜Grout (NO SAND ALLOWED)
- 🧽Sponge
- 🪣Bucket of Water
- 🧤Rubber Gloves and Plastic (for protection)
- 💅Acetone
Instructions

- Find the object. I searched my local thrift store and found a ceramic frog that used to be part of a fountain. It cost about $5 and was pretty dingy, but I knew I could turn it from grimy to groovy in no time. You can really choose anything you want to start with.
- Prep the ceramic frog. If you bought your item from the thrift store too, I highly recommend washing the piece before you start working with it. I also had to remove the former fountain tube (I did that later because I got annoyed). Once you have thoroughly washed your object, get a fine grit sandpaper (150+ grit) to give your object a quick sand. This will allow the glue to adhere a little better when you are sticking on the tiles. When sanding is complete, wipe off your object once more with a damp cloth and let it dry.
- Glue on the tiles. The mirror tiles come with an adhesive backing, but it doesn't work well, so I opted to use Gorilla Super Glue to ensure that the tiles would stay on the frog. Begin to glue on your tiles one by one using the gorilla glue. I did not rip entire strips off of the mirror sheets to glue on because I wanted a little room between the tiles to show the grout. Slowly, and steadily you can glue the tiles on your object. It took about 4-5 rounds of gluing because I would easily get bored doing this. A pro tip is to follow the lines of the object you are working with to make it look as nice as possible. In the photos below you can see how I started with the back and created a separate line for the legs.
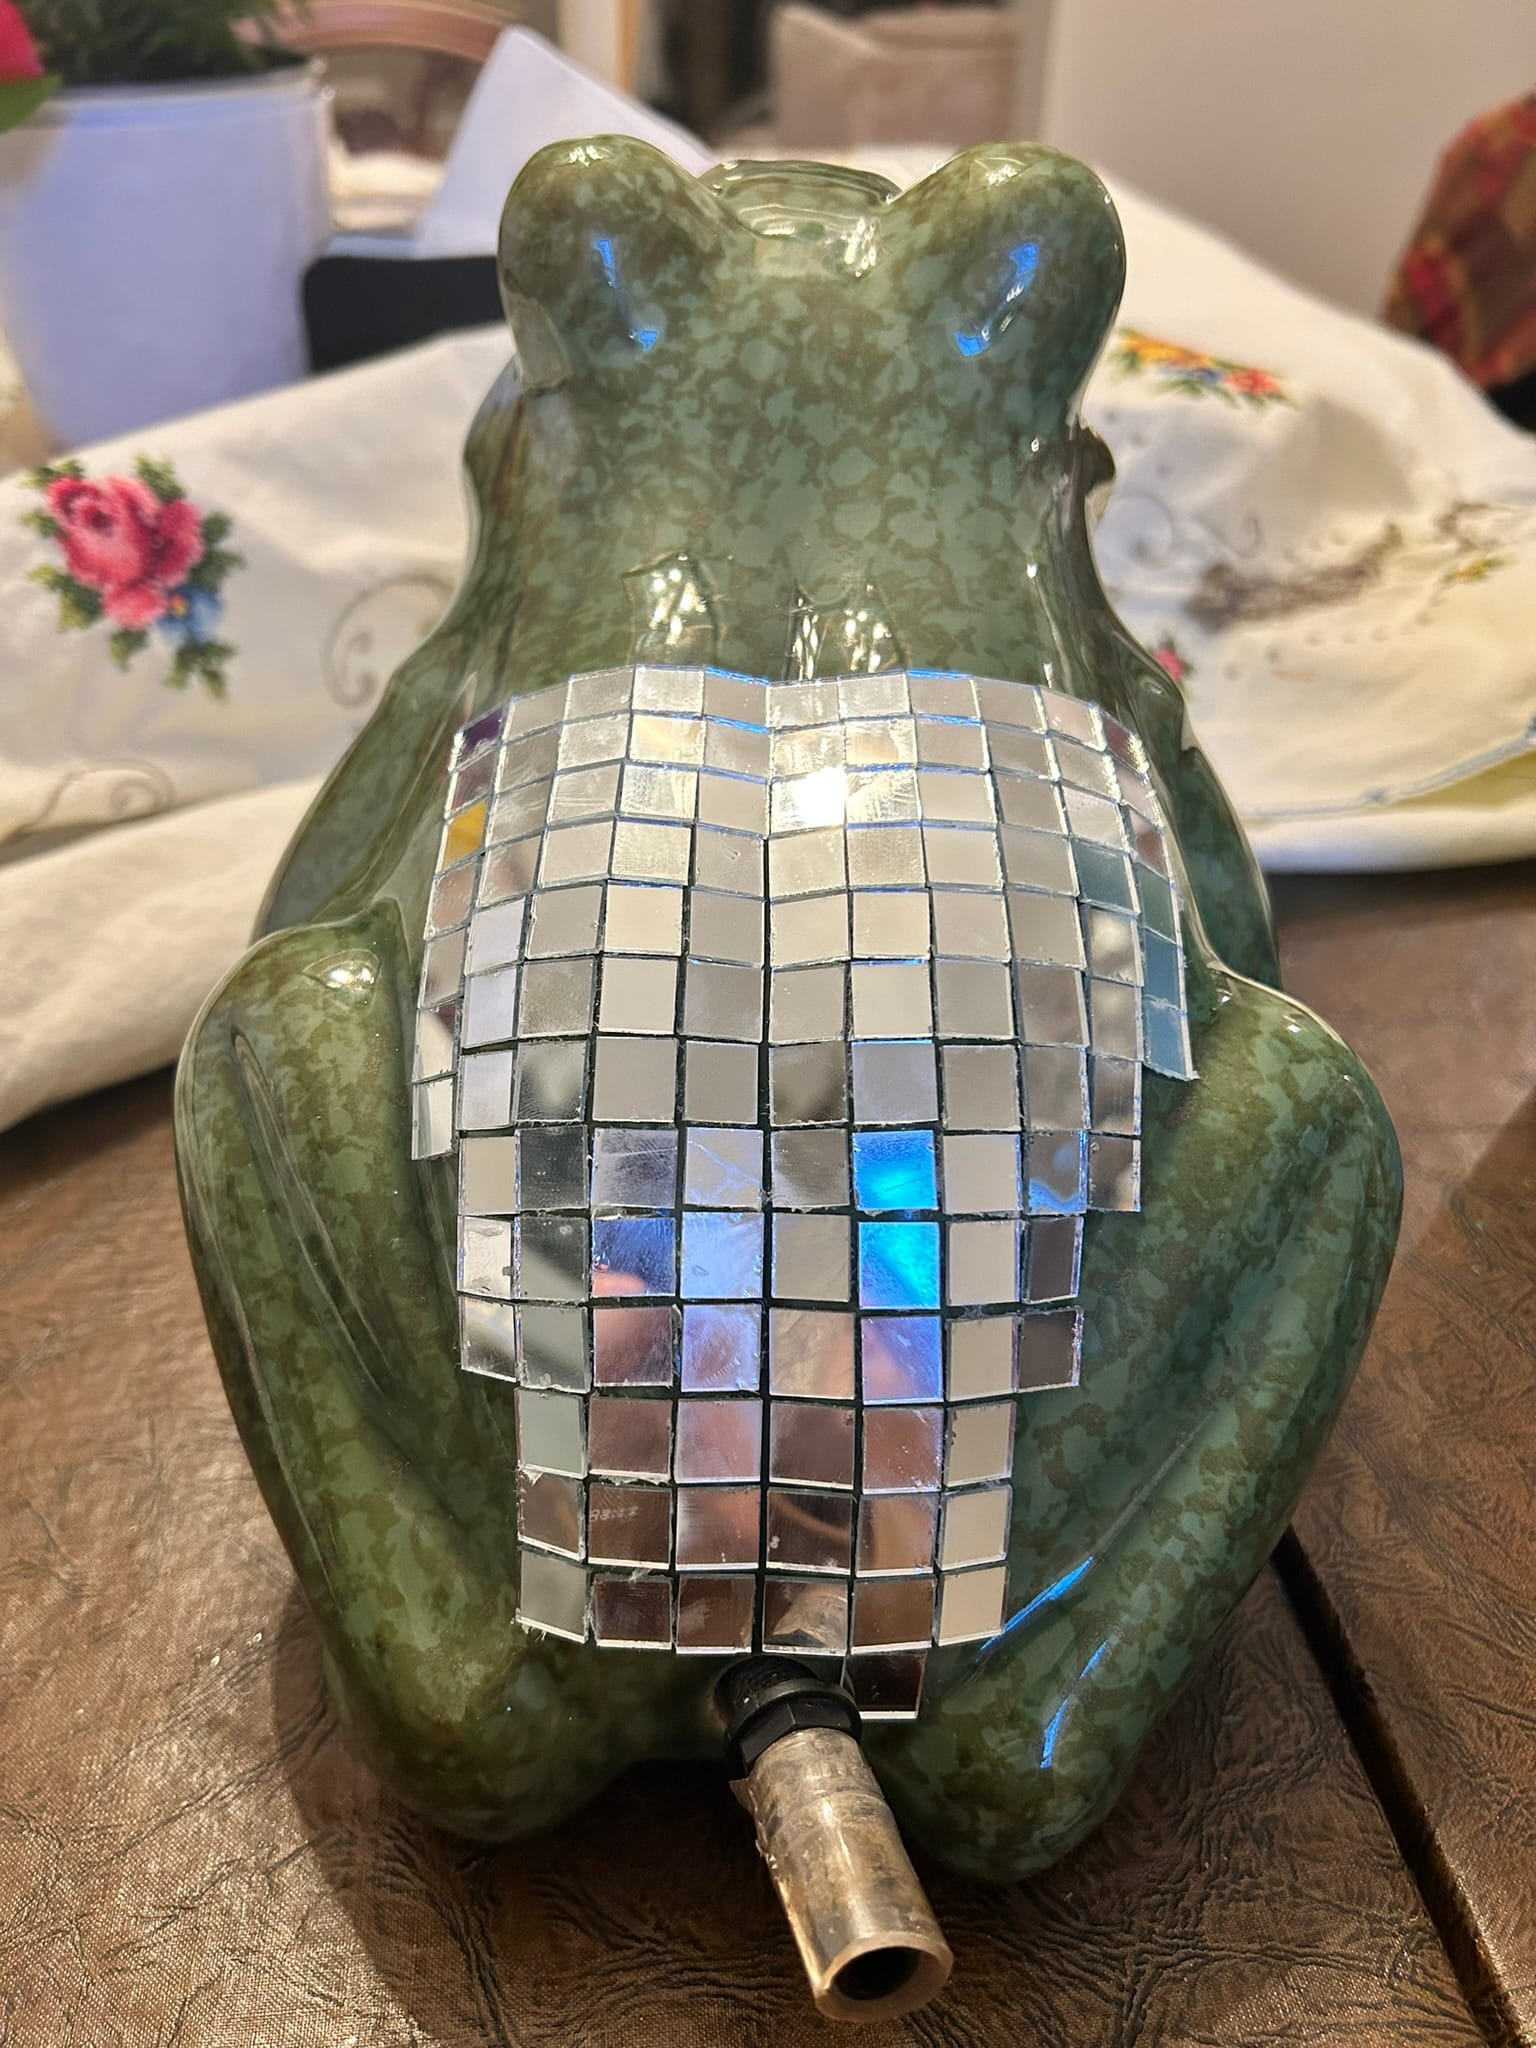
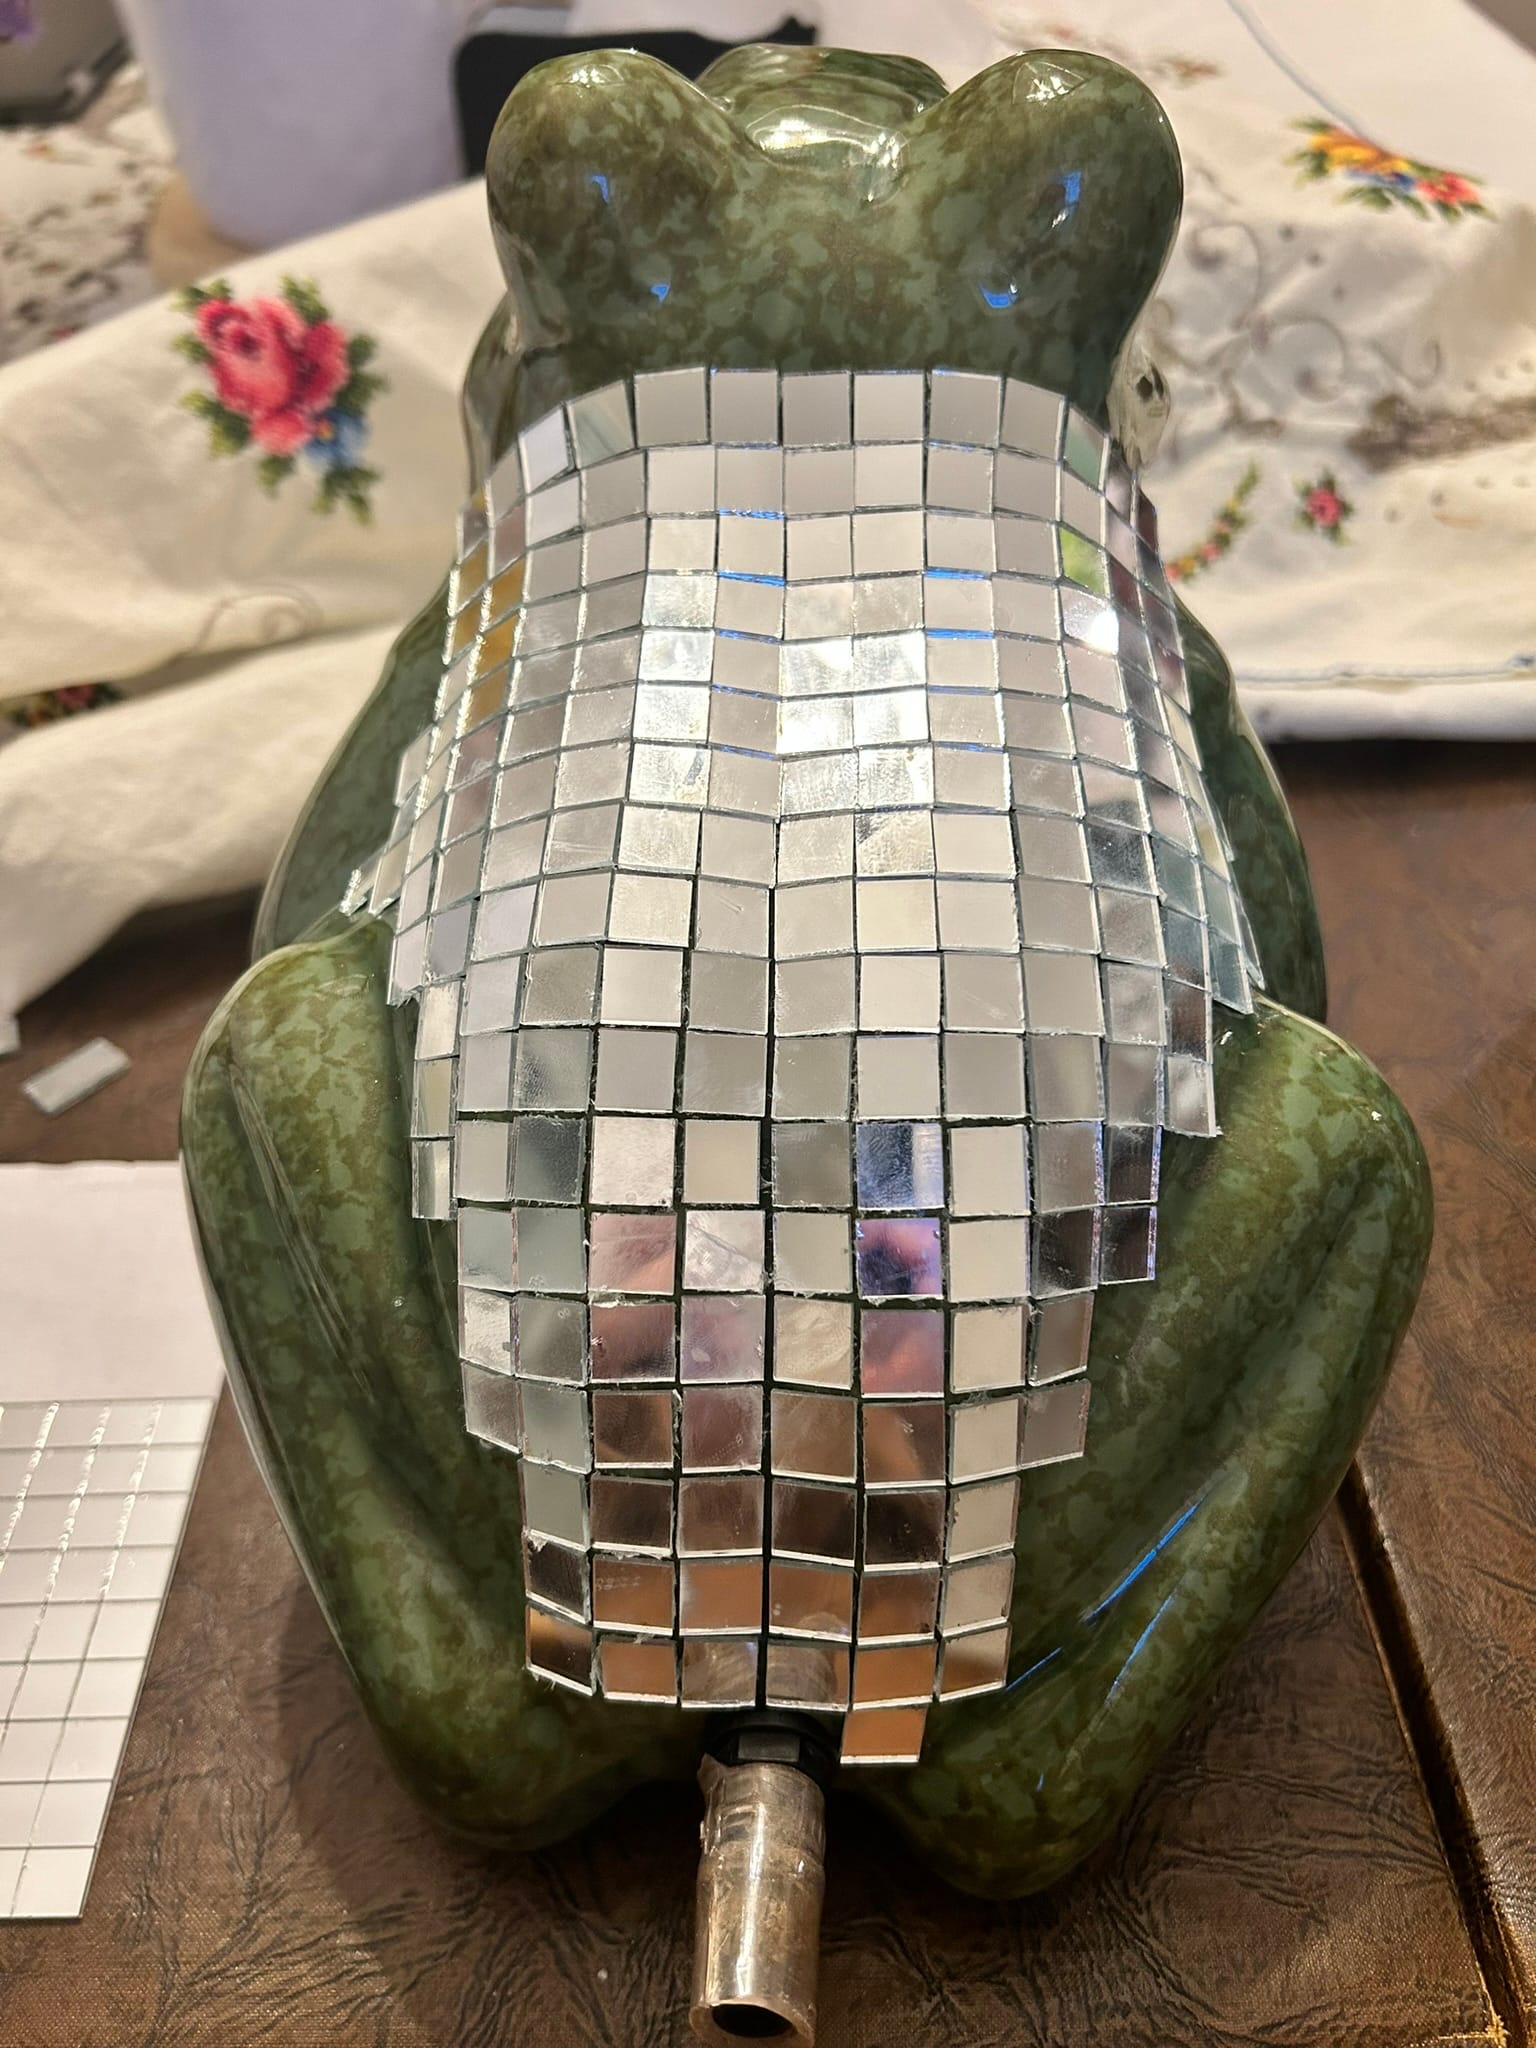
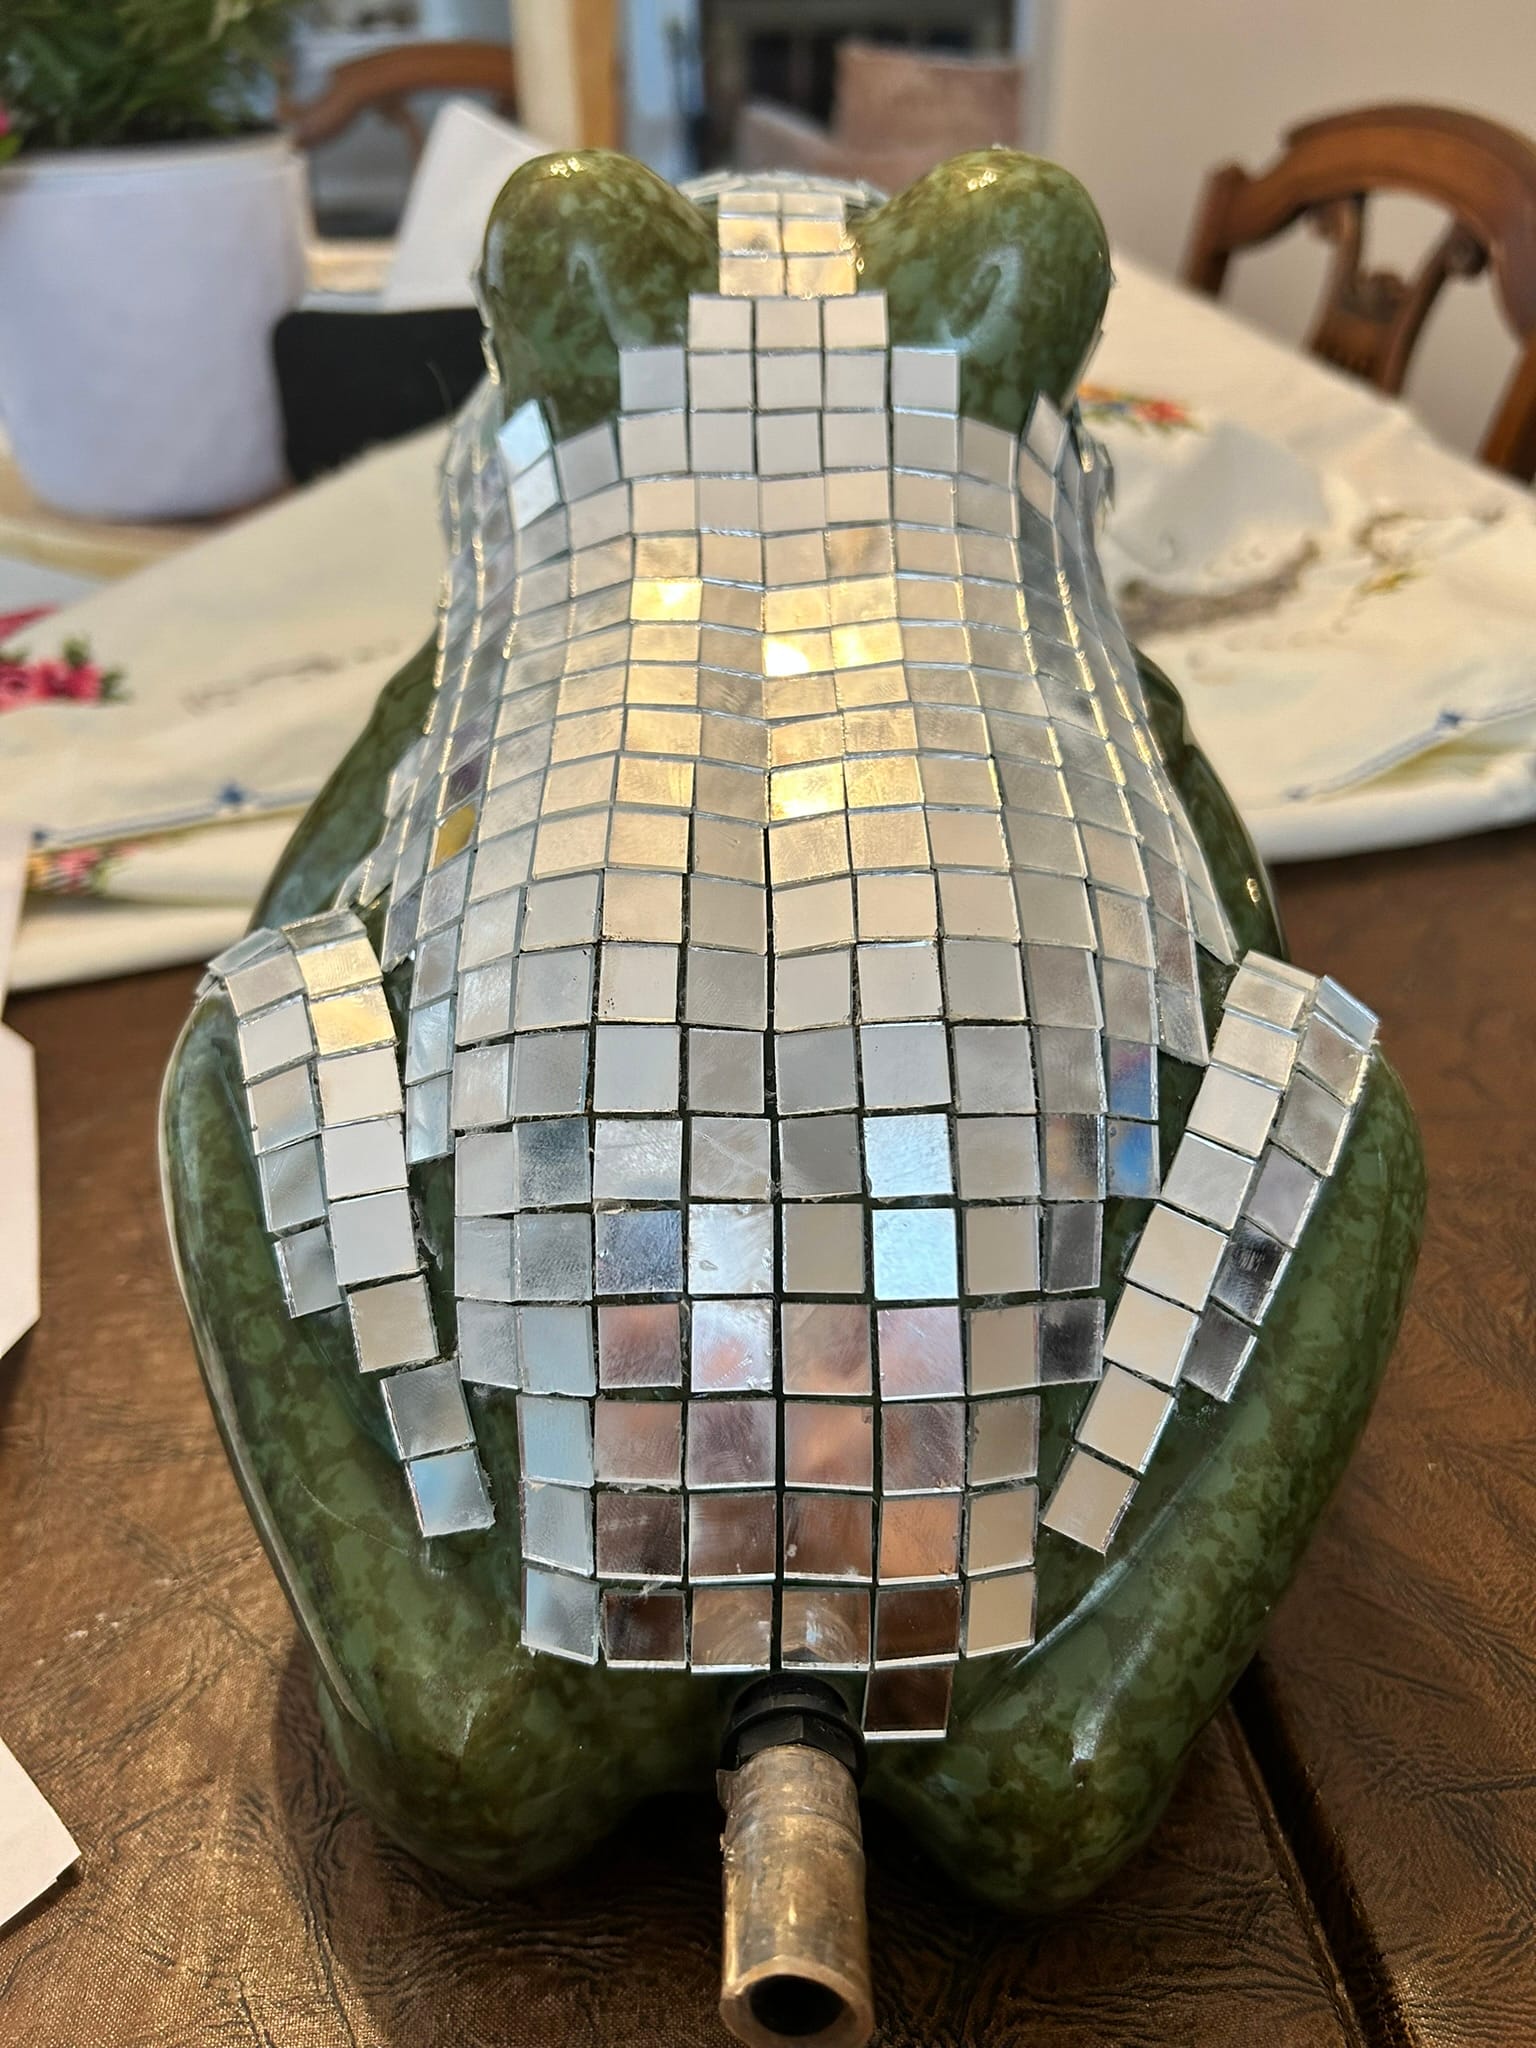
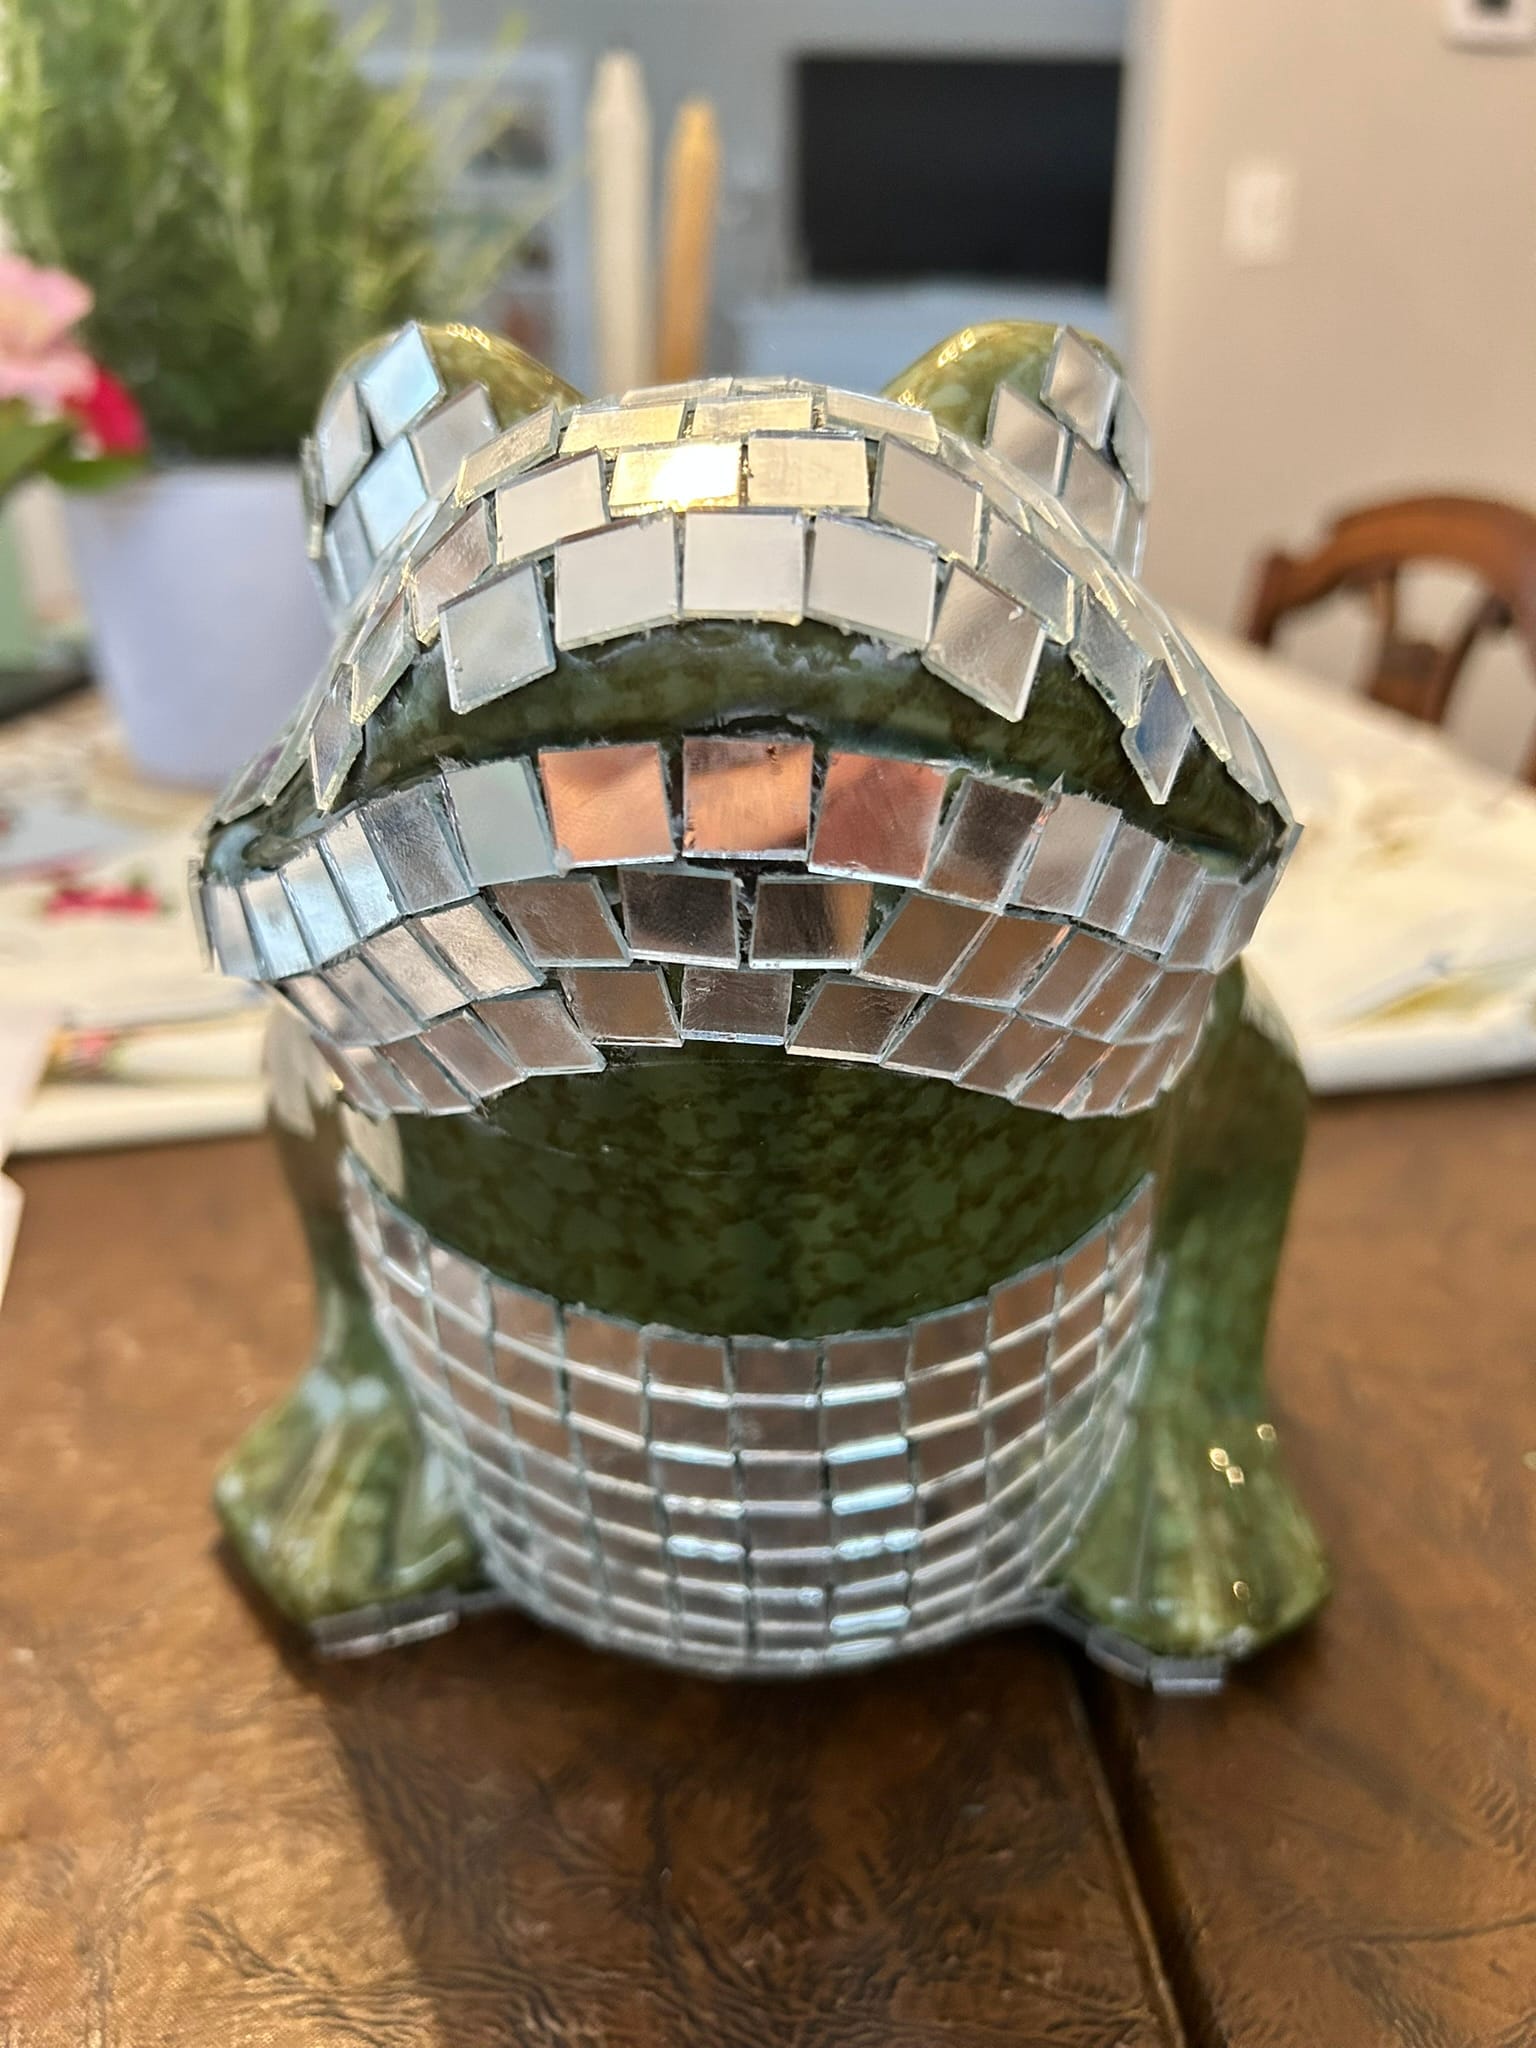
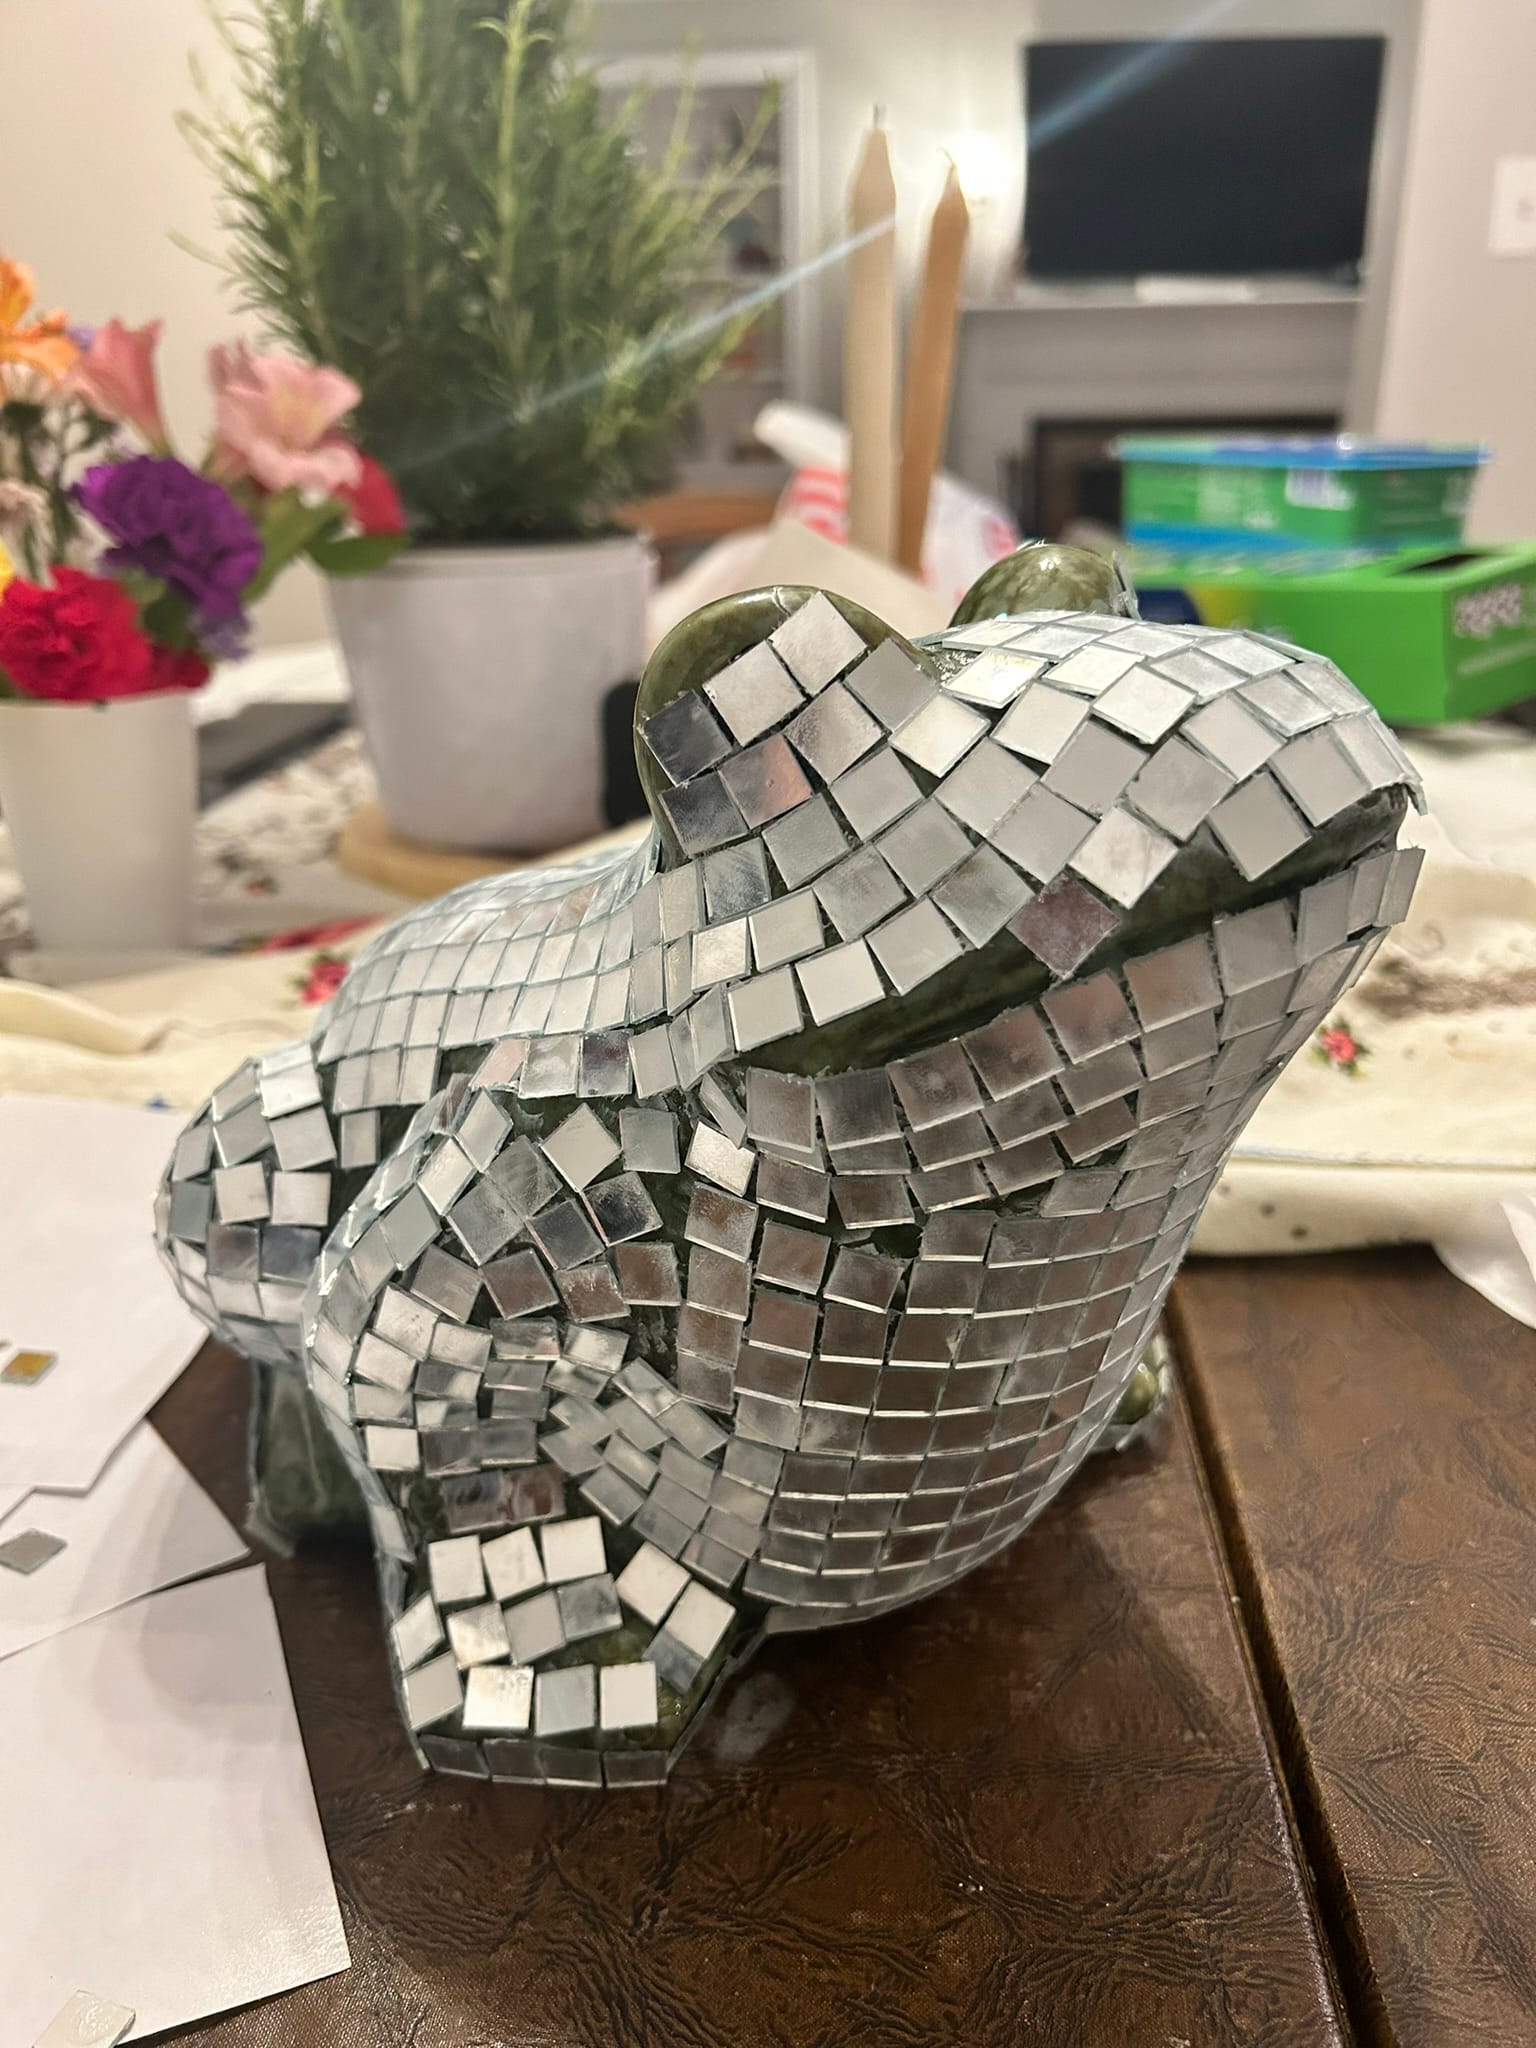

Tile progress on the mosaic frog
- Grout the frog. Wait a few hours after gluing on your tiles to make sure all the glue is dry. Now you are ready to grout the frog. When you buy your grout, please make sure that it is not sanded, or you will scratch your mirror tiles (yikes, why am I picturing nails on a chalkboard?). You might be able to skip this step if you didn't leave any room between your tiles. However, if you left space between your tiles and you have an ugly green hue showing through like mine, you will need to cover that up. Grout gets messy, but it is fun. I protected my hands with rubber gloves and scooped my hand into the grout container and covered the frog in the grout ensuring that it got into all the open cracks and crevices. Once covered, let the grout dry for about 15 minutes.
- Sponge off the excess grout. Take your sponge and bucket of water and begin wiping off the excess grout until you are satisfied with the way that it looks. Be sure not to use too much water, and it is ok if the tiles are a bit cloudy. Let dry for an hour or two.

- Polish the tiles. Take a microfiber cloth and buff out any of the excess dry grout clouds that may appear on your mirror tiles. I also used acetone to remove some of the gorilla glue that got on some of the tile faces. I spent about 30 minutes on this step until I could tell that the tiles were super shiny and ready to reflect that sun!


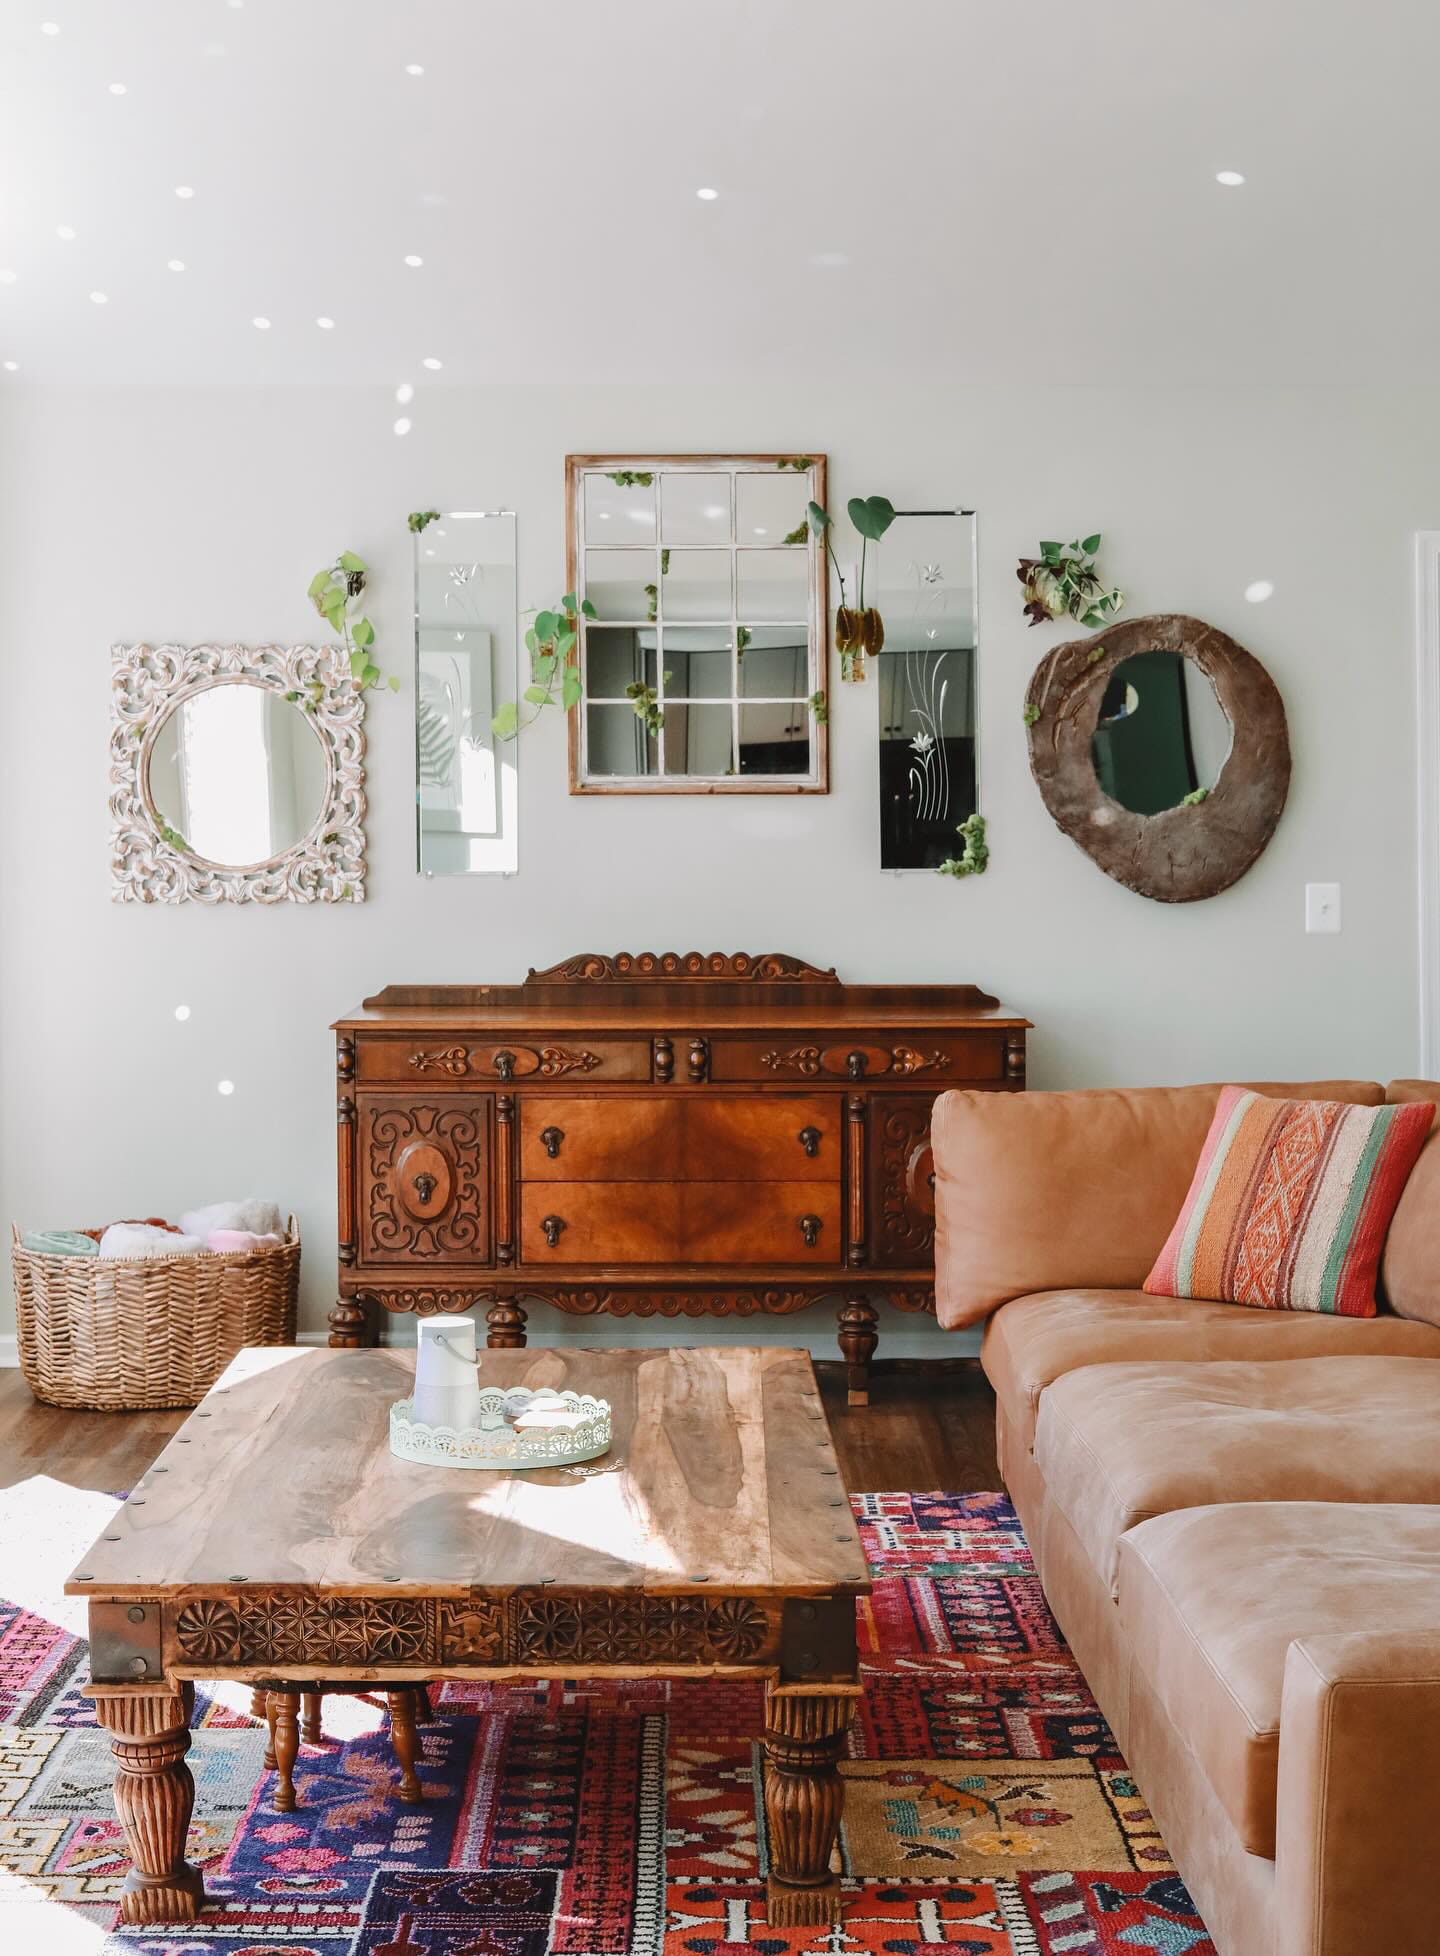

Photos of the finished disco frog
Conclusion

In the end, crafting my disco frog was a mostly fun journey minus the mind-numbing gluing of the tiles. As each mirror tile found its place, the frog came to life, radiating vibrant energy and a touch of retro charm. As I step back and admire my shimmering creation, I'm filled with a sense of accomplishment and a newfound appreciation for disco music. Here's to embracing the glimmers in life, one tile at a time.


The dogs are feeling it!