Large Scale Cross Stitch

Introduction
Greetings everyone! This is my first ever blog post, and I am so very excited to start sharing my DIYs with you! I really never thought that I could have a blog or a brand because I do not work in a particular medium or niche, and I am always working on different things. I am more of a DIY generalist; I've made a quilt, advent calendar, winter hat, headboard, clothes, pottery, pillow, mosaic, you name it. Once I complete a project or get bored, I typically move on to another interest. Now I am seeing that this is a niche in itself.
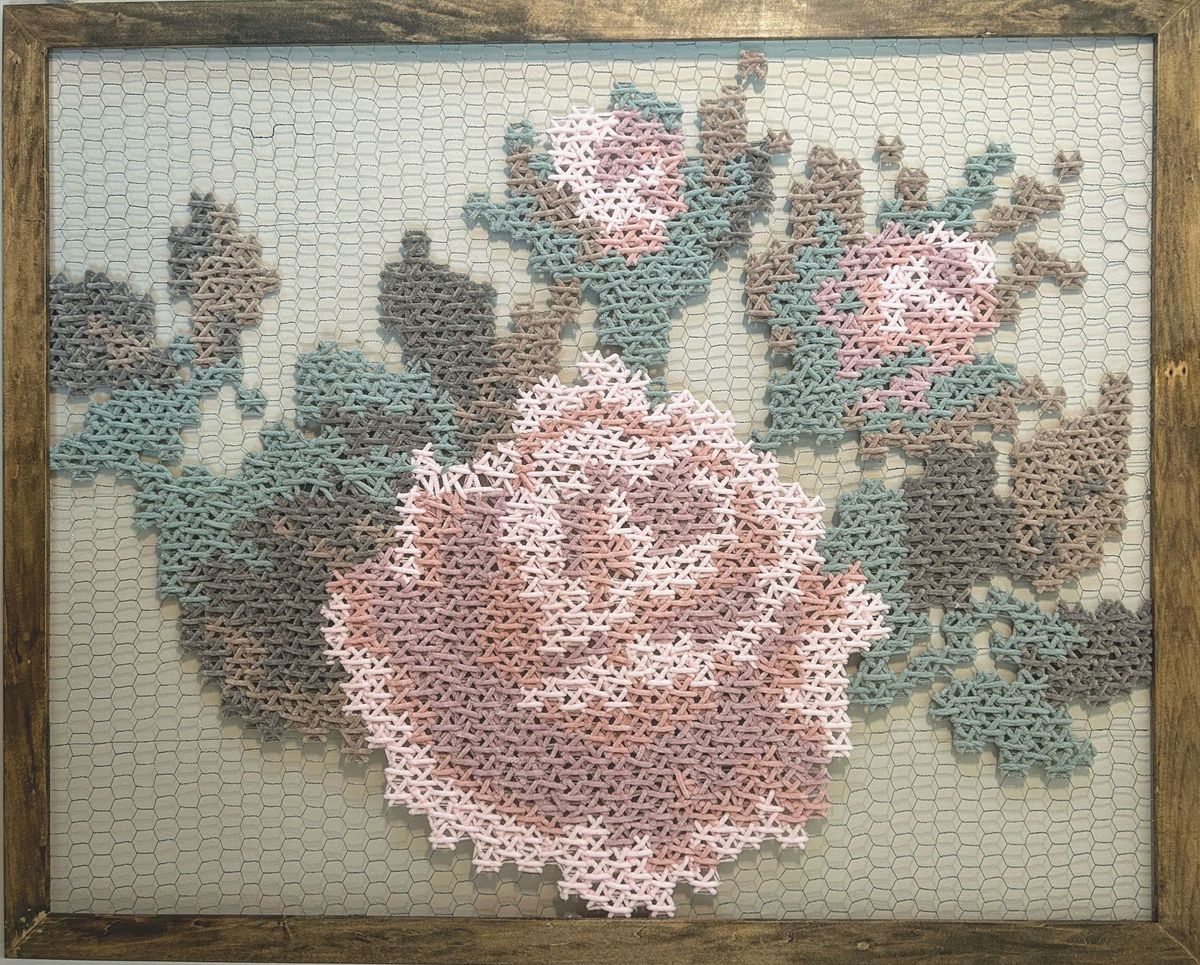
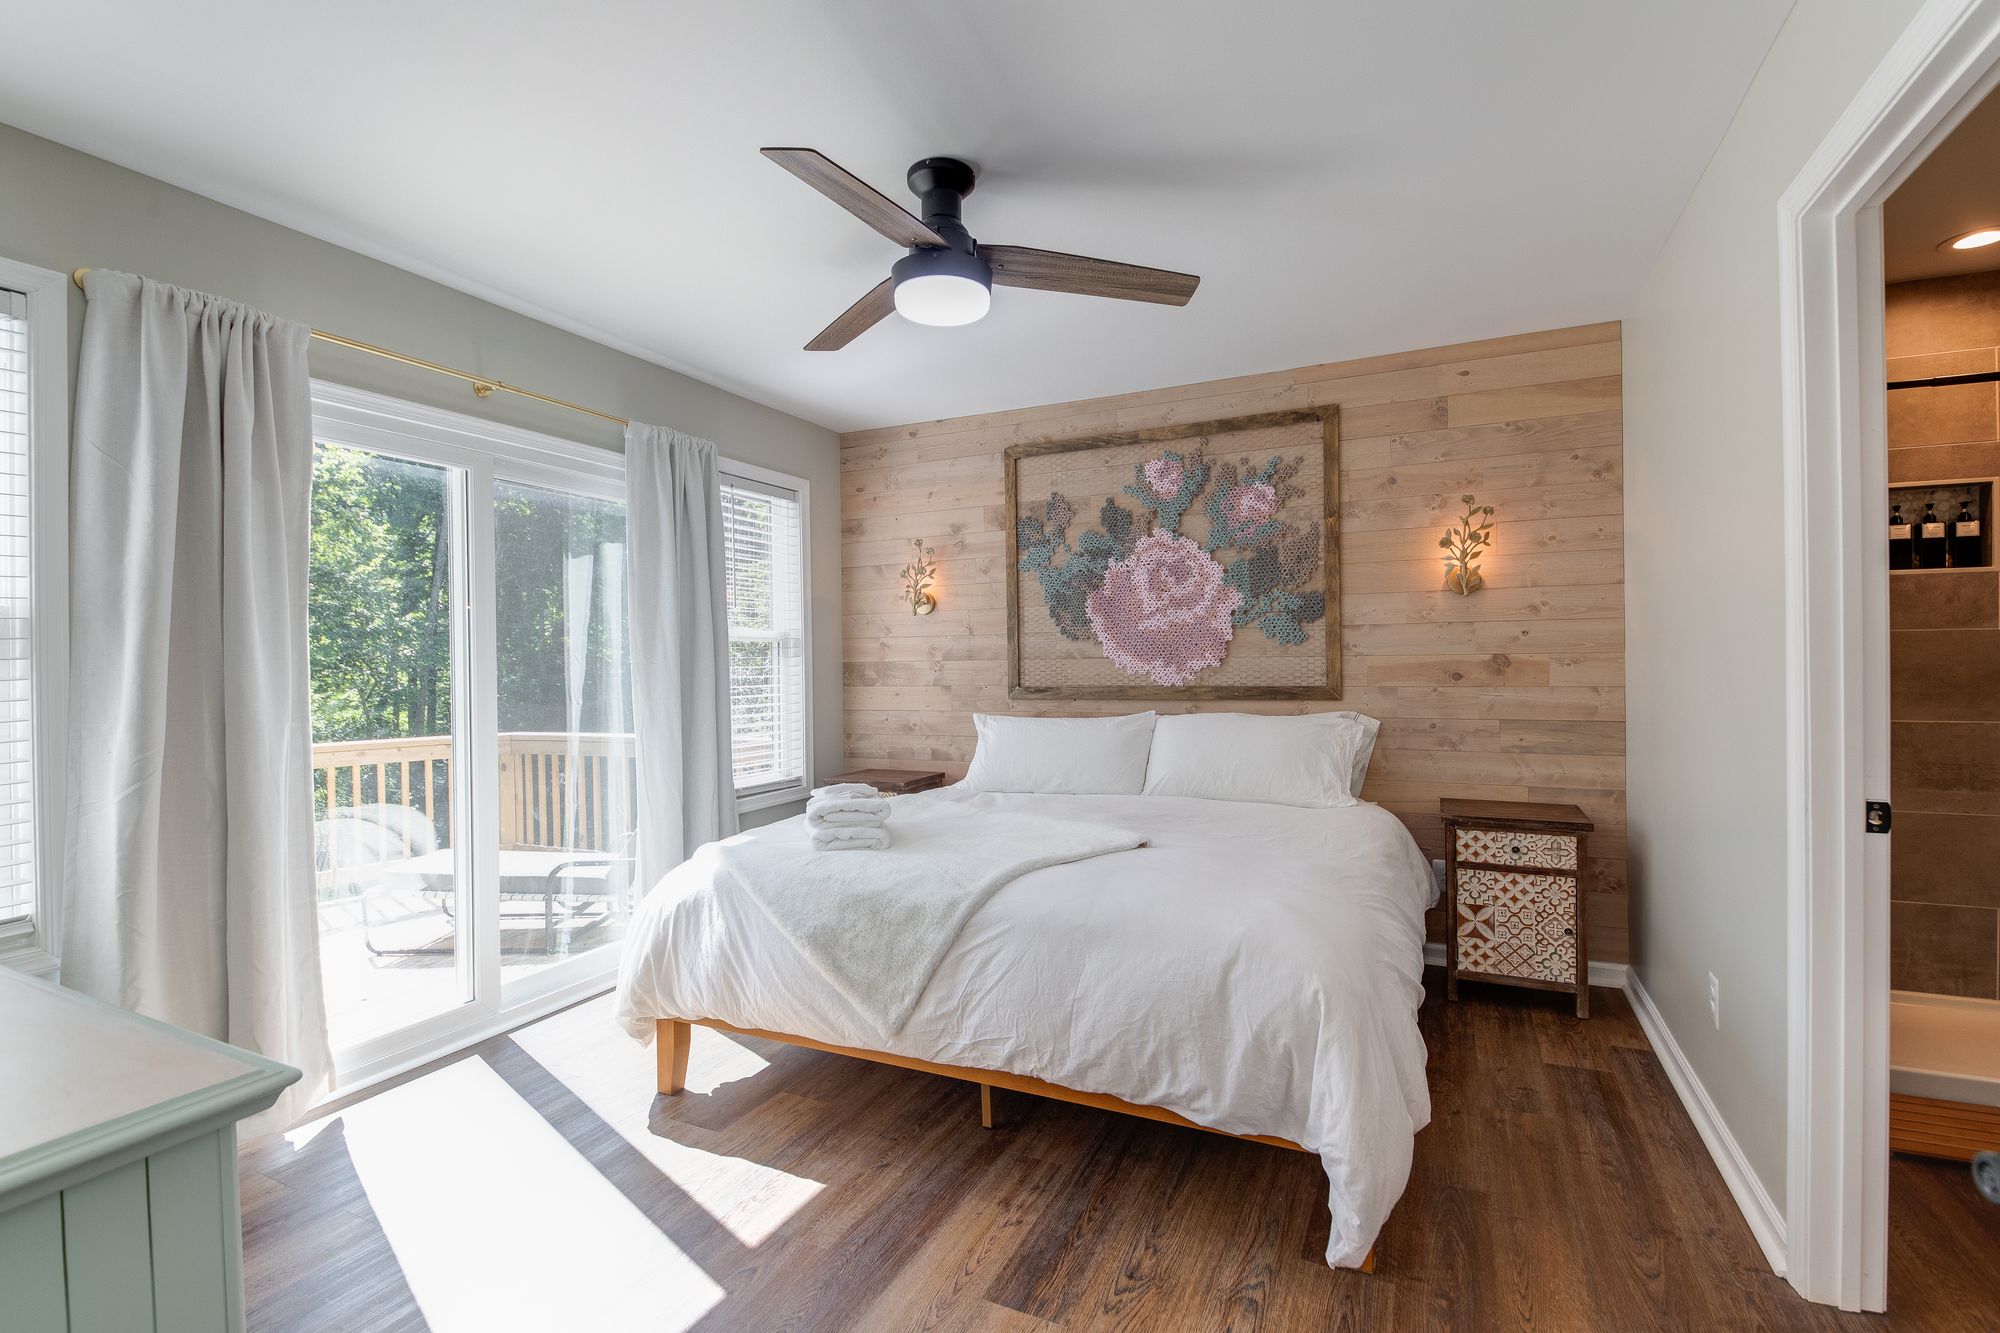
In my first blog post, I wanted to share the first project that I made for our recently opened Airbnb in the Shenandoah Valley, the Wild Azalea House (cute name, right?). I used chicken wire and yarn to build a large scale (4' by 5') cross stitch that is now hanging in all its glory in our main king bedroom above the bed. It adds a uniqueness to the room, and I can guarantee you that no other Airbnb homes in the region have this 😉.

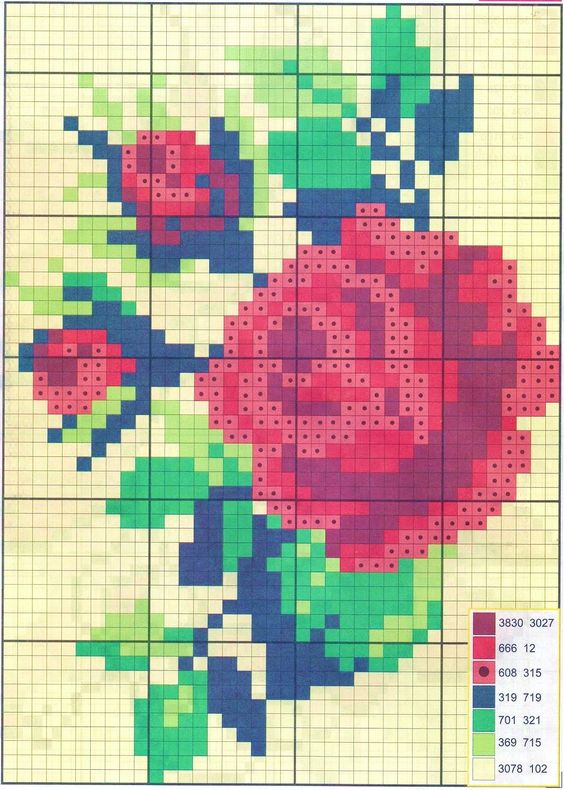
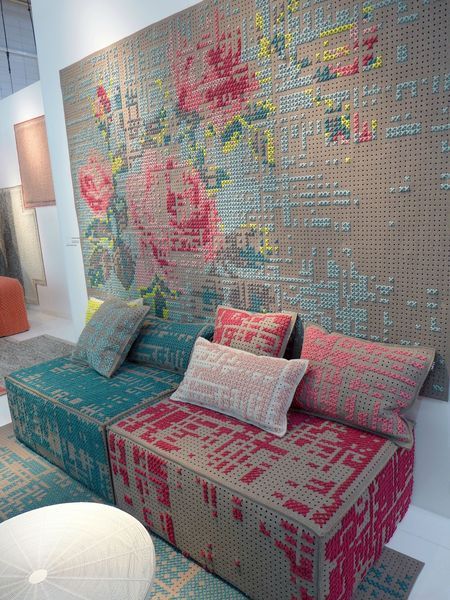
This large scale cross stitch was a project inspired by convenience. A fellow teacher friend of mine (I was teaching high school computer science at the time) had some leftover chicken wire from a homecoming float that she planned to throw away. I decided to take it home not really knowing what would come of it, but I had a feeling it could turn into a cool project. Coincidentally, during a similar time frame I also had been inspired by cross stitch patterns on Pinterest like the ones in the gallery below. Soon enough my brain made the connection that I could use the chicken wire to build by very own cross stitch art 🪡.


1) Pattern: https://pin.it/4noSj15 2) Headboard: https://pin.it/4wZXs9k 3) Chair: https://pin.it/4OUcKKE 4) Painting: https://pin.it/3YyNzqT 5) Peg Board: https://pin.it/7nbCdd8
Ok, so I've got the chicken wire and the inspiration. So, what else did I actually need to do this, and how did I make it happen?
Materials
- 🐣 Chicken Wire (link in case you don't have a friend who will give it to you for free)
- 🧰 Pliers (to cut chicken wire)
- 🧶 6 Colors of Yarn (3 for the flowers, 3 for the leaves – I left the yellow marked area of the pattern blank because I wanted the background to be see-through)
- ✖️ Cross Stitch Pattern (I ended up using the floral pattern in the gallery above to complete this project.)
- 🪡 'Needle' (I created a one from a wire hanger)
- ➖Staple Gun
Disclosure: Links contain affiliates. When you buy through one of my links I will receive a commission. This is at no cost to you. Thank you for supporting DogsnDiy and allowing me to continue to bring you valuable content.
Instructions
- Cut chicken wire down to about 4' by 5' using your pliers, and find a place to set up. The nails in our fireplace mantle that we use for hanging stockings at Christmas time were very convenient to hang this project, and the mantle ledge was a good place to access the yarn. Once I hung up the chicken wire, I also marked each 10 squares with blue painter's tape so I could keep my place when working with the pattern.

- Make your 'needle' (or buy one). Instead of purchasing a needle in the store, I fashioned one by using the pliers to cut a wire clothing hanger and bent it into the shape below. I secured the loop with some duct tape. The needle hole had to be quite large as the yarn (purchased on sale from Michael's) I was working with was relatively thick. It is much easier to thread the yarn through the chicken wire with a needle rather than just using your fingers (I tried both).


1) 'Needle' built from metal hanger 2) Labels from the yarn I bought
- Start stitching your pattern. This project is not as straightforward as a regular cross stitch and is relatively tricky to get started. Since chicken wire is a hexagonal shape, there are a couple of nuances that you need to be aware of before starting your stitch work. First, the rows are not exactly straight like in the pattern, so you need to be really mindful of which hexagon goes with which row. The rows zigzag back and forth as pictured below. Second, the hexagon shape does not allow for the traditional cross stitch like with a square. Instead, you need to make a star pattern. It might look a little weird at first, but trust the process.


- Continue stitching as instructed in the previous step, and make progress day by day. This is not something you will finish all in one day unless you are an expert stitcher. It definitely does take some practice getting the hang of things with the rows and the type of stitch you need to make. You can go row by row if you would like. However, I tried to do as much of one chunk of color as I could where it was touching before switching to another. When beginning a color chunk, I would tie off the yarn in a corner of a hexagon, stitch until I was finished with the color, and tie the other end to the ending hexagon. Pedro, one of my dogs 🐶, was a very helpful companion during this process .


Progress over time from large scale cross stitch
- Cut off the tails (only the yarn's, not my dogs'). Once all of your time-consuming stitching is complete, you will probably end us with lots of yarn tails that need to be taken care of on the back of your project so that you cannot see them when admiring your art. I flipped over my project and used a glue gun to glue the tails down. Once the glue hardened, I cut off the excess yarn tail.
- Build or buy a frame. Luckily my dad visited right around the time that I finished the project, and he was able to build a quick frame for me with some wood from home depot (Thanks, Dad! 👍🏻). I did not want the frame to be too decorative because the piece speaks for itself. I stained the frame using a leftover custom color that I created for some invisible shelving in my kitchen. Lastly, I used a staple gun to adhere the chicken wire to the frame. This took some strong fingers and finagling to stretch the chicken wire to make sure it was straight and taut. I highly recommend that you make this a two person job.

- Hang up your work and admire it. To hang this large scale cross stitch, I drilled a couple of screws 🪛 into our wall making sure that they were level and hung the cross stitch on them. I then used a staple gun to secure the chicken wire to the wall to ensure there weren't any wonky spots. Below is a picture of what it looks like in the room.

Conclusion
Embracing large-scale art can truly enhance the ambiance of your home as it did ours. I've seen lots of reels these days describing how large art makes your home look more luxe. This project in particular offers a creative and cost-effective approach to infuse large-scale artistic flair into your living space, so grab your materials, your canine sidekicks, and get started!