Patchwork Headboard
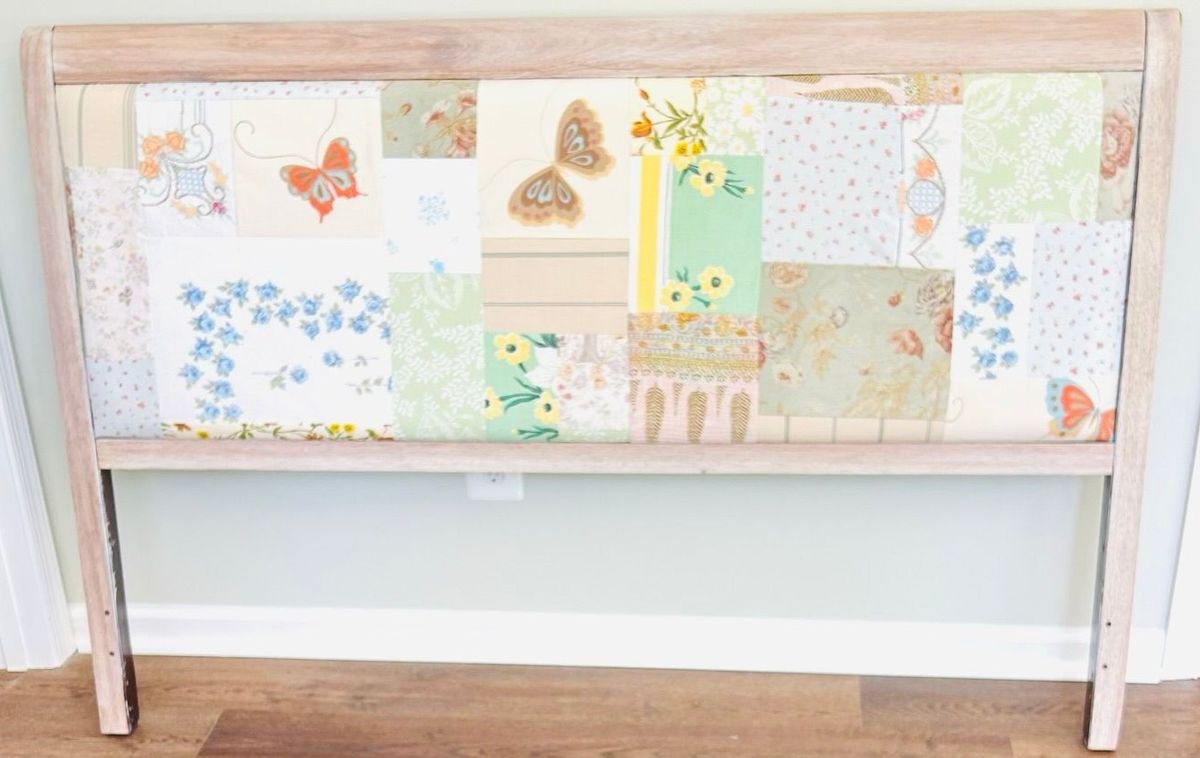
Introduction
When we were trying to furnish our Airbnb in the Shenandoah Valley, the Wild Azalea House, we tried to keep costs down but the uniqueness of the place high. All things bed tend to be quite expensive, and most of our bed budget went to new mattresses from Nectar (not getting paid to advertise, just like their products). Instead of purchasing brand new bed frames and headboards for the three beds in our house, we decided to check out Facebook Marketplace to see what we could find.
Turns out there was a woman who was selling a queen headboard about five minutes from my house, and it was not pretty to say the least. That peace sign fabric you see in the photo below was an old flannel with lots of pilling 🥴. However, if you can see the potential in the uglier pieces like I did with this one, there are deals to be had. I spent $20 and picked up the outdated headboard that day.

I recently made baby quilts for my niece and nephew (blog post to come), and I had some extra fabric left over from the project. The fabric remnants hold a rich tapestry of familial memories, woven together from sources close to my heart. This is why I used them for the baby quilts. The fabric used for this project comes from the following textiles:
- An upholstered recliner we used to have when I was 5 years old
- My mother's childhood bedsheets
- My childhood bedsheets
- My maternal grandmother's table cloth
- My paternal grandmother's vintage scrap fabric (she sewed too and was much better than me!)
- My maternal grandmother's duvet cover
- A ripped kantha blanket gifted to my mother from my sisters and me
- Leftover fabric I had from reupholstering my dining room chairs
There are also a few filler fabrics that were purchased from JoAnn Fabrics 😏. It is really amazing to think about all of the interactions these fabrics have had with my family in different forms. There's lots of love here that our Airbnb guests might not even realize. I hope that they feel the warm energy radiating from this headboard. Ok, lets get to what you need to make this before my tears start falling.
Materials
- 🛏️Headboard that you want to reupholster
- 🧵Sewing Machine
- 👕Fabric Remnants
- ⬜Interfacing (some of my fabric was a bit fragile, so I used this to reinforce it)
- 🧇Iron and Ironing Board
- 📍Pins
- ✂️Fabric Scissors
- 📏Ruler
- 🪛Screwdriver or Drill
- 🧰Pliers
- ➖Staple Gun
- 🤍White Wash
- 🧣Cloth for Staining
- 🥼 Clear Top Coat
- 🖌️Paint Brush
- ⛱️Electric Sander
Disclosure: Links contain affiliates. When you buy through one of my links I will receive a commission. This is at no cost to you. Thank you for supporting DogsnDiy and allowing me to continue to bring you valuable content.
Instructions
- Deconstruct the headboard. Use your screwdriver or drill to take apart the headboard. The goal here is to isolate the upholstered portion of the headboard. I ended up with 6 pieces of wood that made up the frame and one middle piece where the upholstered part was. Be sure to put all screws, washers, and other hardware in a plastic bag, so you have them to reconstruct the headboard later.
- Take off the old fabric. You can choose to work with the wood first or the upholstery. I decided to work with the upholstered part first. Using your pliers, remove the staples to release the old fabric from the headboard. As hideous as the fabric might be, do not throw it away just yet! Take measurements of the fabric first. This will help guide your patchwork design. In my case, the fabric was 27 inches tall and 65 inches wide. Ok, now you can get rid of the old, smelly fabric, or make some groovy bellbottoms, your choice.
- Build the patchwork template. I know there might be some quilting software out there, but since I don't make quilts that much, I use Google Sheets to build my template for the patchwork design. I created a column and row for each inch so that every cell represented a one square inch. I like to improvise this design rather than be very methodical about it. You'll notice that my rectangles are all different sizes to create that whimsical patchwork look. Once I visually like the pattern, I also label each rectangle's dimensions in inches so that I know exactly what to cut. I added an extra inch to each rectangle in both height and width, so if I sew on a 1/2 inch seam, the project will come together seamlessly. Lastly, for this template, it is important that you build your pattern in columns as shown below in blue and white. This makes it much easier to construct than having random squares overlapping everywhere (lesson learned from the baby quilts).

- Cut your fabric. According to the template that you just designed, you now need to measure out and cut each rectangle. Please make sure your fabric is nice and ironed first. Remember when choosing the fabric for each rectangle that some of the fabric on the outside of the patchwork will be wrapped around to the back for upholstery purposes, so it will get cut off. When cutting rectangles, I like to choose fabric intentionally so that the similar colors/themes of the different fabrics are closer together. However, you really can't go wrong here... it's patchwork. I started in the upper left hand corner of the diagram and cut rectangles down a column (first blue column), then started again at the top of the next column (first white column). I continued cutting rectangles using this process making sure that they were stacked in order.
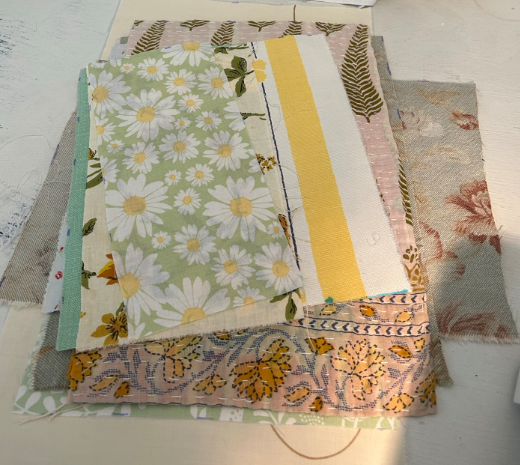
- Apply interfacing. You might be able to skip this step, but I had some fabrics that were older and quite delicate. I ironed interfacing to any rectangles that I felt might fray due to human or pillow friction against it given that this project is a headboard.
- Sew the columns. Hopefully you've kept your rectangles in order 😉! Using the template, sew each column together first. If there are any rows within the column, sew the rows together first. It will make it much easier for you to construct. Remember to sew on a 1/2 inch seam if you are following my methodology.
- Sew the columns together. Once all columns are constructed, now it is time to sew them all together to get one large panel that you will upholster to your headboard in the next step. The seams you should be sewing together in this step are the long lines between the blue and white columns in the template. All other smaller seams should already be sewn. Iron the entire panel when complete. Nobody wants a wrinkled headboard.
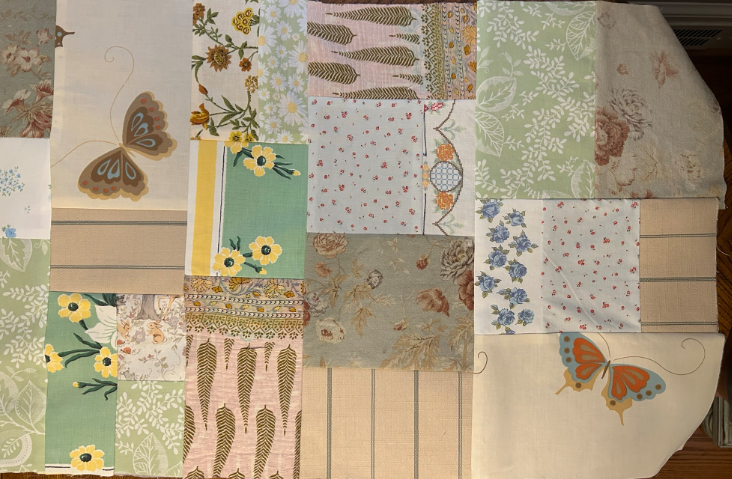
- Staple the fabric to the headboard. Once your panel is complete, you can now staple it to the headboard. It is helpful to have a second person during this step to help hold the fabric, but it can be done with one. Lay your fabric down on a surface with the good side facing down. Then place the headboard on top of the fabric also facing down. Make sure the headboard and fabric are straight so you don't end up with a crooked pattern and all your hard work sewing rectangles doesn't go to waste. Once you are feeling confident about the placement, use your staple gun to adhere the fabric to the back of the headboard. Pull the fabric very taught before stapling, and be generous but not excessive with the amount of staples that you use.

- Sand the wood pieces. Congrats! You've completed the first part of this project. If you like the way the headboard frame looks, you can put things back together now (step 12). However, if you've got an outdated, glossy, dark, and dreary headboard that needs to be revamped, stay tuned. Use your favorite electric sander to sand the varnish and stain off of the original wood.
- Whitewash the wood. Once everything is sanded down, use a damp cloth to wipe the pieces down and let them dry before treating them. When the pieces are dry, choose one piece to start with. Dip your staining cloth into the white wash and wipe all sanded sides of the piece. Let it sit for a minute or so, and then go back and wipe the excess white wash off with a dry cloth. Repeat this process for each piece. You can also repeat the process two or three times if you want a really white look. Let the white wash dry completely according to the instructions on the can before moving on.
- Seal the wood. It is always important to add a protective layer to your refurbished projects to ensure they last. I painted two coats of a clear satin polycrylic protective finish on all the wood pieces, waiting for the wood to dry between coats.
- Put the headboard back together. Still have those screws from the beginning? I hope so! You've got your upholstered headboard and pieces of wood all finished up, and now you need to put it back together so it can be used in your bedroom. The reconstruction should be relatively simple, and hopefully you have some muscle memory from taking the bed apart. Good luck 😏! It's really not that bad.
- Set up the bed. In this blog post, I only describe how to create the headboard, meaning we are missing the bed frame. However, over the days I was working on this project, I did manage to find a nice platform bed frame that I purchased off of Facebook Marketplace that needed no work except to be put back together🙌. We transported everything to our Airbnb and built out the queen bed in our lovely cottagecore bedroom.
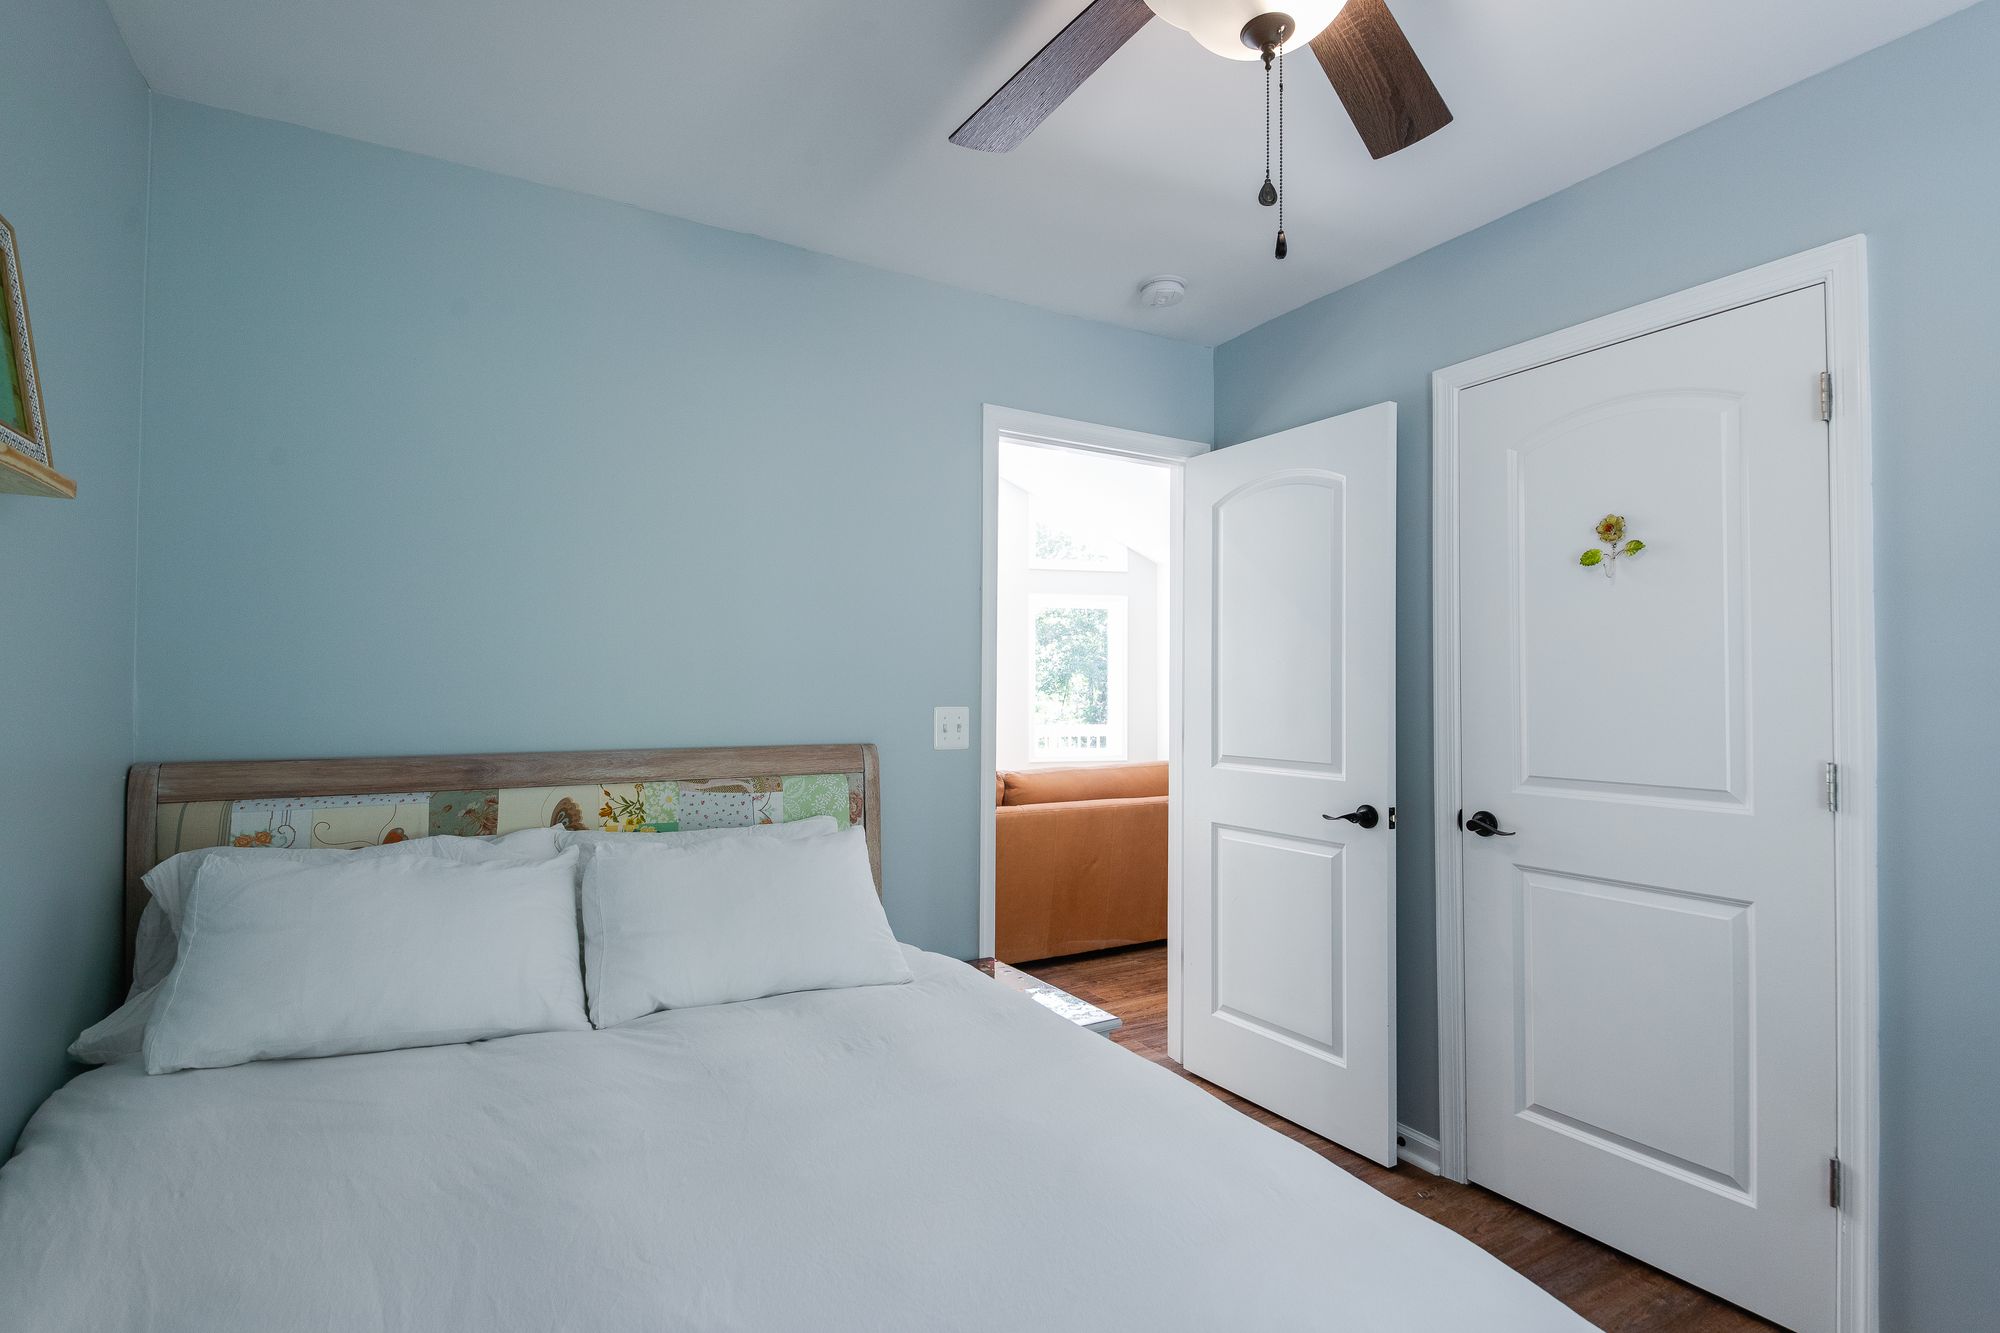
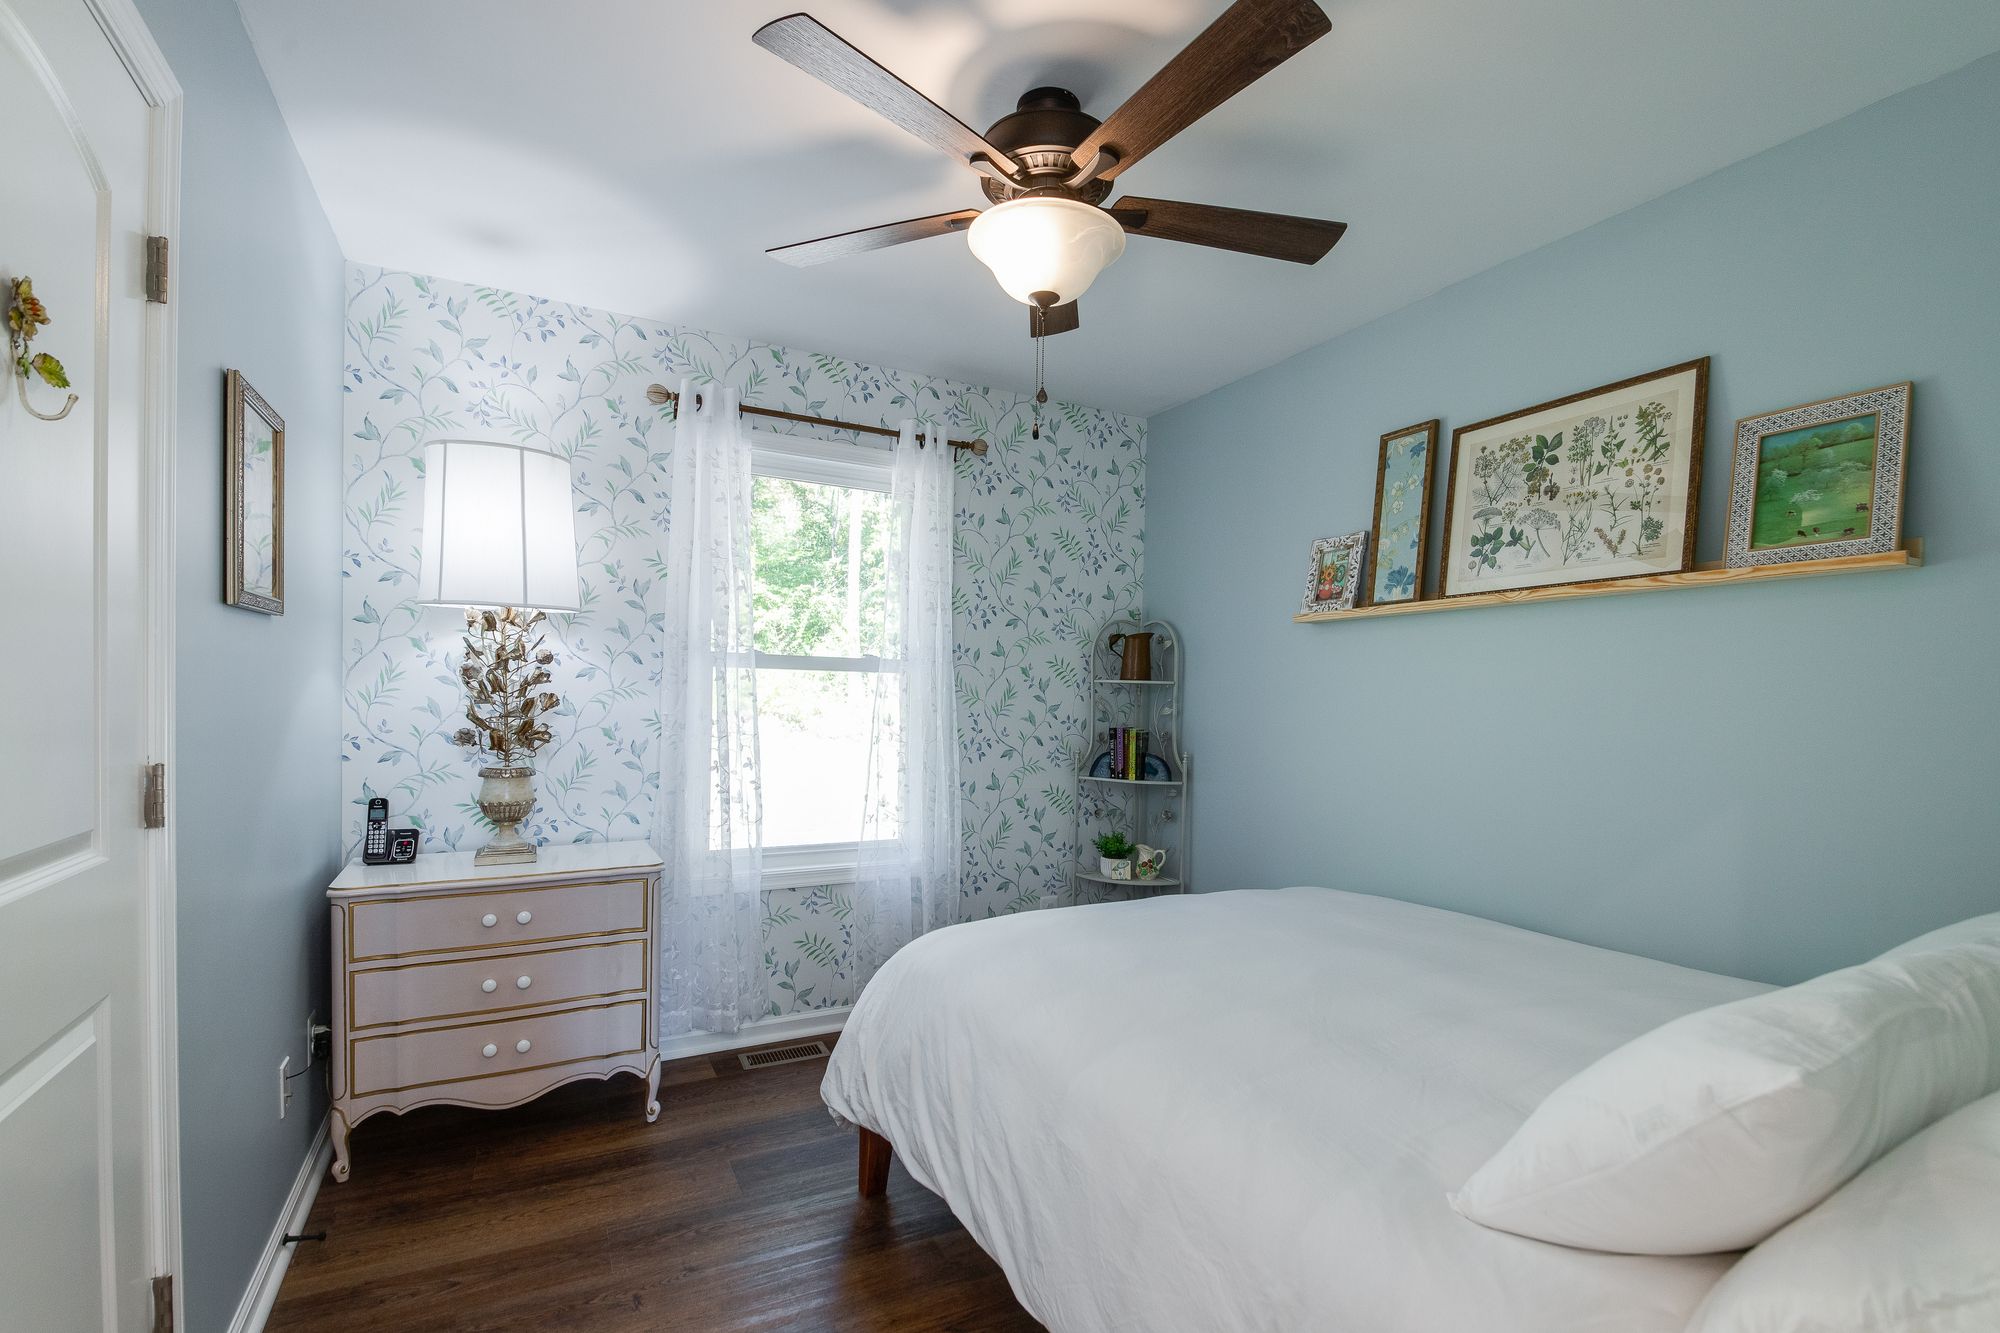
The headboard displayed in one of the bedrooms at my Airbnb, the Wild Azalea House
Conclusion
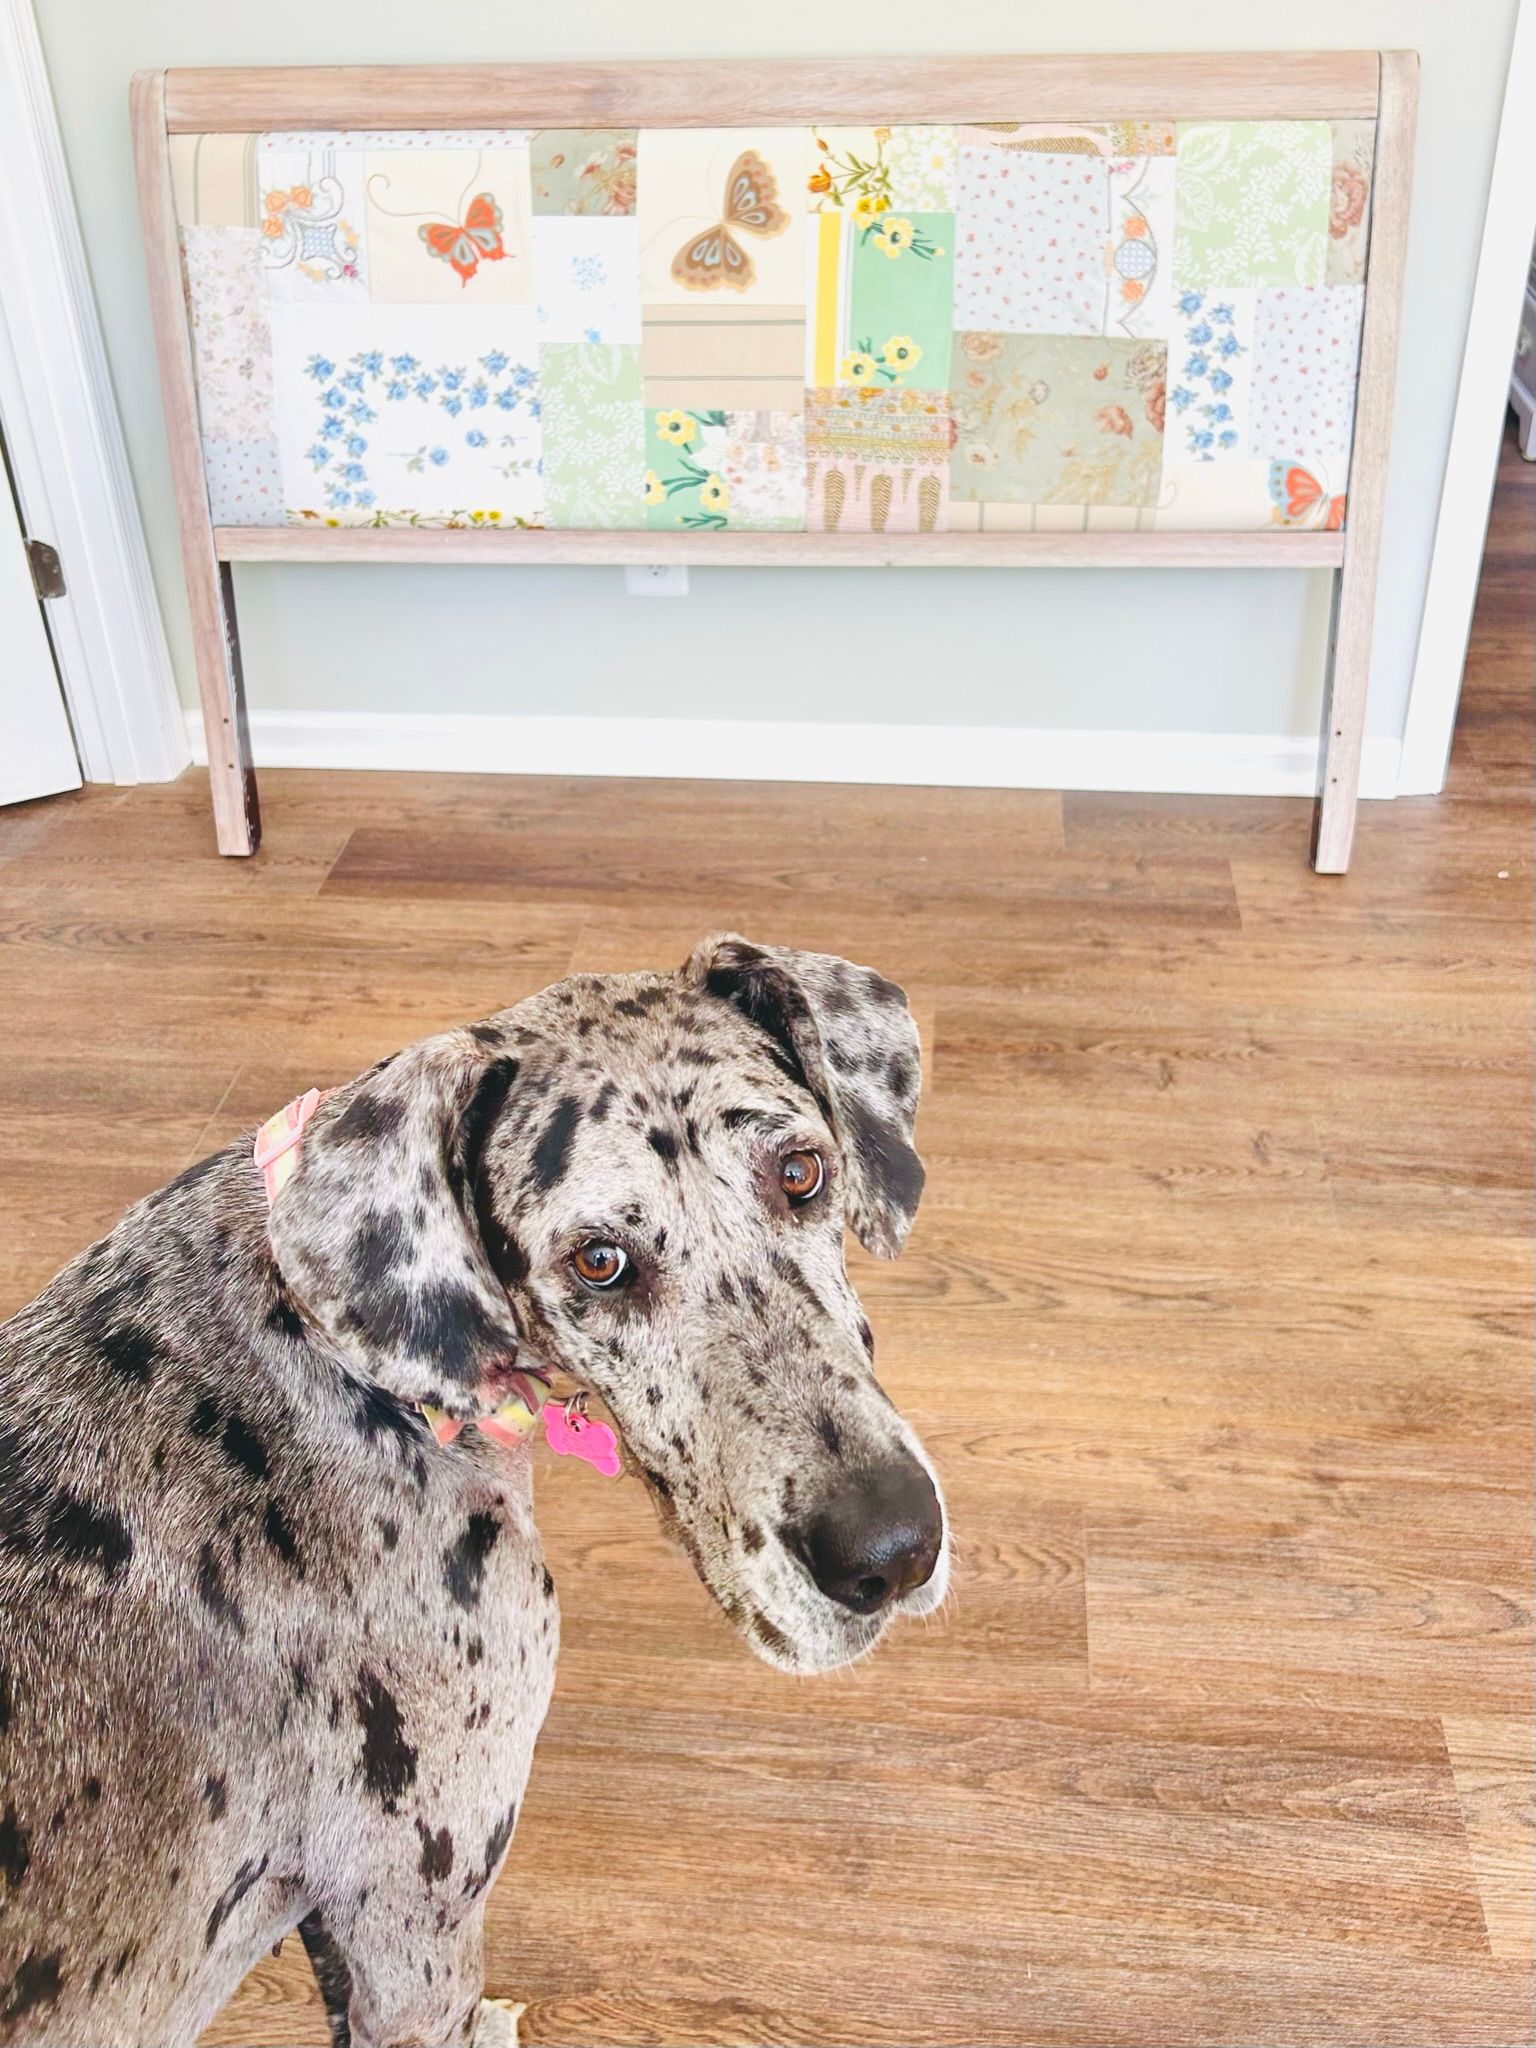
This was a really fun, cost-effective, and dog-approved project. The headboard is absolutely stunning, and I smile every time I look at it. One thing that bothers me is that the pillows on the bed block the design a little too much for my liking. I may need to figure out how to raise the headboard a couple more inches. In summary, this project has not only brought joy through its delightful and economical execution but has also inspired a commitment to fine-tune details for an even more harmonious visual impact. Let me know if you create your own!